We all take pictures of our screen from time to time because it is often the fastest way to show and explain something. And, this is one thing. But, when making screenshots is part of your working process - this is a totally different thing.
Screenshots are essential for almost any documentation as they can be of great help for users providing quick visual solution. Nobody wants to read a lot of text, this is just torturous. And, on the other hand - nobody wants to write it either. Why spend so much time describing a process that can fit in a couple of screenshots?
But in reality you have to think about many things when making screenshots - image size, image quality, information privacy, text readability…
The main idea behind this post is to show you how to create great informative screenshots that will save you and your readers a lot of time and learning efforts.
Making The Most Of Your Screenshots: Basics
First, let's set some ground rules for the process of screenshot making.
Think the Screenshots Over and Put Them Into Context
Figure out precisely what you are doing the screenshots for, and this will allow you to capture just the details you need. You know the tool you are capturing better than any user, so take some time to make sure that no UI element will be left outside the frame if it is of importance. Remember, a user should understand where the element in question is located in the UI to be able to find it.
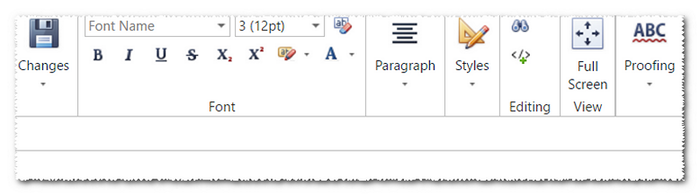
On this screenshot, it's impossible to understand what tab is opened without going through some explanatory text:
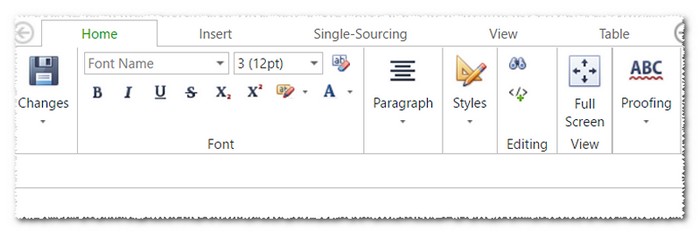
That's better, since it shows the tab captions:
Thinking through helps a lot, especially when doing a series of screenshots to depict some steps. A mistake at the very beginning can ruin a bunch of following images. Just sit back and think a little before starting, it'll pay out. Create the environment thoroughly before taking any action, be mindful of any pitfalls you might wanna give the users some heads-up about.
Concentrate on What's Important, Eliminate the 'Background Noise'
What's the easiest way of taking a screenshot? Fullscreen! Undoubtedly, there are situations when such screenshots are the only way out, but if it's not the case, we strongly recommend leaving out every non-essential detail.
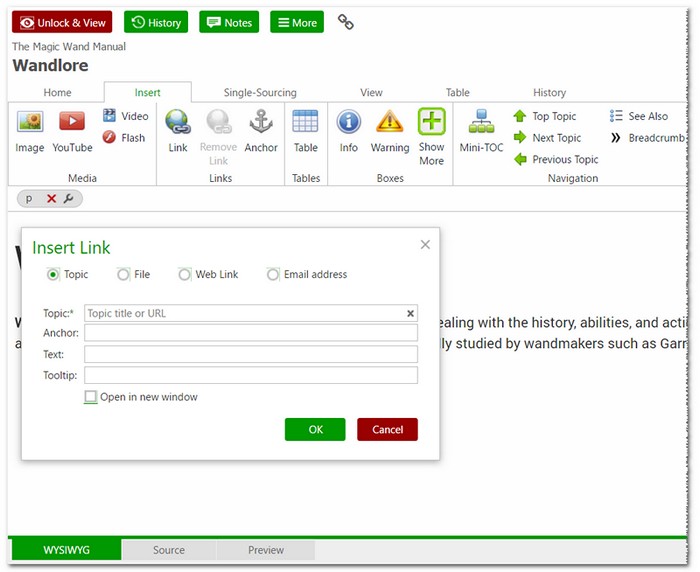
This image has so many extra details it hurts:
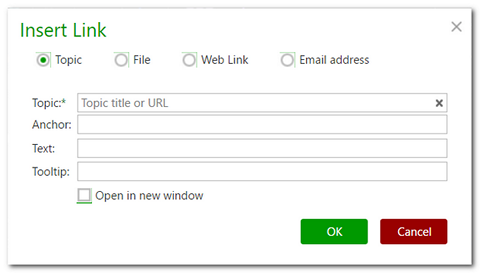
When all we really needed was this:
"But I've got this red arrow there pointing right to the needed button! No way a user gets confused!"
I'm going to disappoint you - still a bad idea:
a) fullscreen images are usually pretty heavy in terms of the file size, traffic and loading time;
b) small elements will be hardly visible as such screenshots need to be resized to fit in the text anyway, so...
c) you'll get users frustrated by making them open the whole image just to see a name of some tiny button;
d) fullscreen image content is more difficult to control meaning there's a higher possibility of accidentally leaving in the picture something that doesn't belong there (we'll talk more about privacy further on).
So, the point is - stay focused on crucial details you'd like to show.
If You Need a Big Screenshot, You've Gotta Make It Small
This is especially important for mobile visitors of your documentation. The general rule of thumb we recommend is deciding upon the max width for all the images. In some cases, you can just resize the window when capturing it.
This is a "No":

This is a "Yes":
If you already have some bigger ones - change their size in some editor. Or, if possible, add screenshot thumbnails to your documentation, and allow users opening the images in full size if needed.
It looks much better when all the images on the page have approximately the same width.
Big screenshots will also affect mobile readers in a negative way. Consider re-working your CSS to fit various screen sizes. Our ClickHelp Team has recently published a free ebook on Responsive CSS that you might find useful for this topic.
Use Graphic Elements on Screenshots
Even if for some reason you don't have any special tool at hand, you can alway draw a decent circle or an arrow in Paint. JK. Never do that. There is a wide array of tools for screenshot making and editing to choose from. As a rule, they are rather straightforward with their basic functionality. You won't need to spend much time studying their documentation. As a far as graphic elements are concerned, pointing arrows at an object or circling it works best. You just need to make sure the element is visible on the screenshot. So, pick a color that would stand out from the rest of the image.
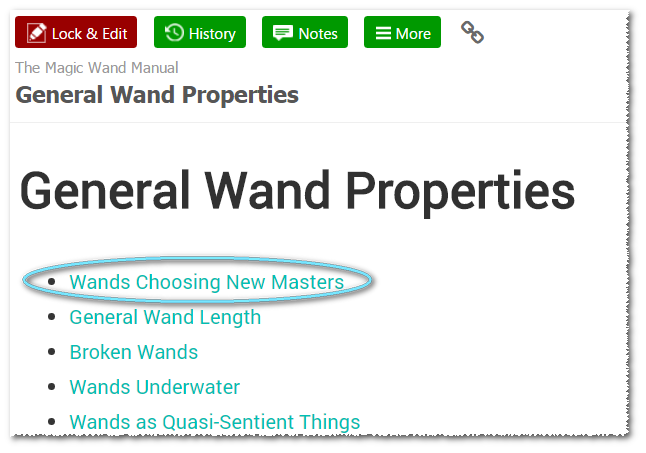
This is a "No":
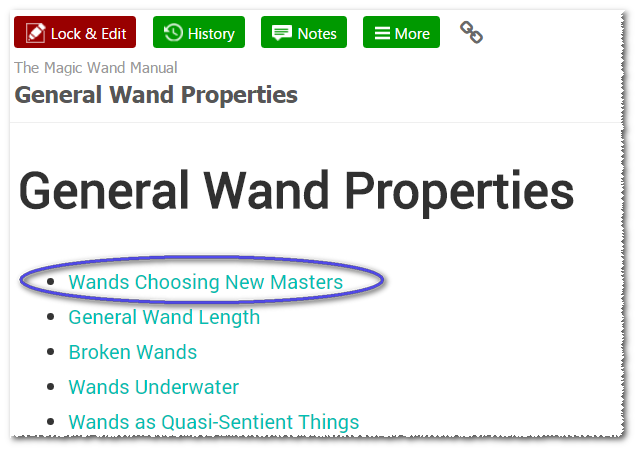
This is a "Yes":
An alternative way of focusing attention on an element is zooming it in. That works great especially with large screenshots crowded with small details.

Another useful technique is the Spotlight, which is supported by some screenshot tools. This is what it may look like:
Screenshot Privacy: What Not To Show?
Еven when we take a screenshot to send it to a friend, we have to be aware of what we are doing to avoid awkward situations like showing people too many opened browser tabs, or how your music player is stuck on the new One Direction album. See, even then we got privacy concerns. The situations gets more serious when taking screenshots is part of your job, and revealing some sensitive information could harm the business or reputation.
Emails
This can often happen when dealing with registration forms that you document. You'll have to create a special email account for such purpose unless you want the whole world to know your email address. If you've already messed up and don't feel like taking the screenshot again, there are some options: to photoshop some other email over or simply blur/distort the existing address. But, we would not recommend using to much of the latter approach - when too many words are blurred or crossed out, it doesn't look good. At some point it starts looking like you are hiding something, and you want to make sure you are max transparent about your product:
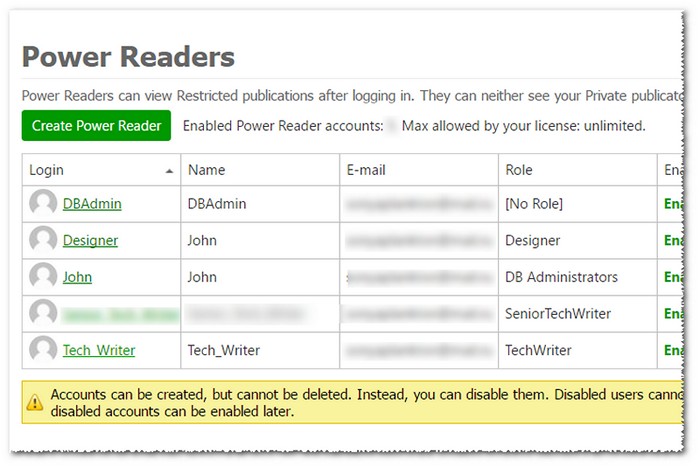
Any Names
Try to control the content in this regard. We are talking not only about personal names, but also server names, for example. Disclosing a server name, domain name, administrator user name, computer name, network folder name, etc. may accidentally turn to loophole in your security.
Version Details
If you ever worked on documentation, you know how hard it is to keep all the screenshots up to date. Sometimes, new releases bring only minor changes, so the old screenshots stay, and, sometimes they stay for a long long time. Yeah, Sauron saw you doing it :) But no one else ever notices. And, it's okay, it's a common practice and an efficient time-saver. If you accidentally leave version details or copyright with the date, you'll have to re-take the screenshots.
Do You Really Need a Screenshot?
Finally, there are things taking a screenshot of which would be just redundant. I know we've been talking about how great and useful screenshots are, but, there are cases when images would be an overkill.
Don't forget that screenshots take much more time and traffic to load compared with regular text, and users will have troubles copying text from a png file.
So, let's cover some situations when you don't really need to capture a screen picture.
Lines of Code
Code is usually added to documentation as text written in a monospace font. It is easy to read, it stands out, and can be copied easily.
Maybe your concern is that the IDE highlights the code syntax in a pretty way and the plain-text version does not look cool? Don't worry - there are many code highlighting services on the web that you can use, and there are special JavaScript libraries that do the job for you in the online version of your code samples.
Standard Wizard Steps
Quite often, wizard steps consist of several 'click next' steps. Of course, these need to be omitted. Just mention them in the instruction text, and it's done.
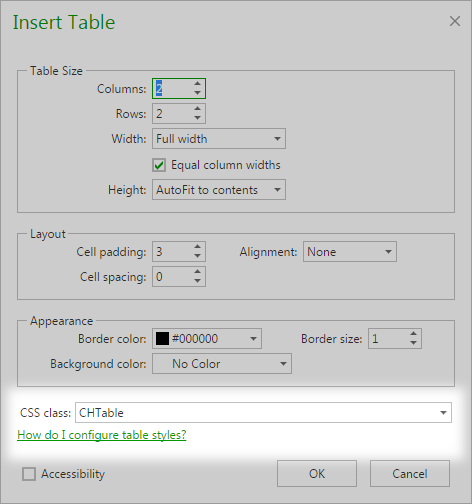
Any Standard Dialogs
Make sure that things are as obvious and common to users as they are to you. If this is true, you don't really need screenshots of those standard OK/Cancel dialogs.
Conclusion
So, these were the main principles we advise you follow to master the art of screenshot making:
- Making The Most Of Your Screenshots: Basics
- Think the Screenshots Over and Put Them Into Context
- Concentrate on What's Important, Eliminate the 'Background Noise'
- If You Need a Big Screenshot, You've Gotta Make It Small
- Use Graphic Elements on Screenshots
- Think about Privacy
- Emails
- Any Names
- Version Details
- Do You Really Need a Screenshot?
- Lines of Code
- Standard Wizard Steps
- Any Standard Dialogs
Hopefully, these skills will save you time and effort. Just a brief summary for you: don't hurry, study the details, recreate the environment (create email addresses and product users If needed beforehand). Make sure your screenshots have just enough details to lead readers to the right direction. Always check images for personal details.
This article was written based on our own technical writing experience. If you need to create online documentation, you may also like ClickHelp - the best online documentation tool for web developers.
Good luck with your screenshots and online documentation!