ClickHelp User Manual
Import from ReadMe
ClickHelp supports the import of the Markdown files exported from ReadMe. To learn how to export them, please refer to this topic: Migrate from ReadMe.
To import the files, follow these steps:
- Click Import on the Projects page.
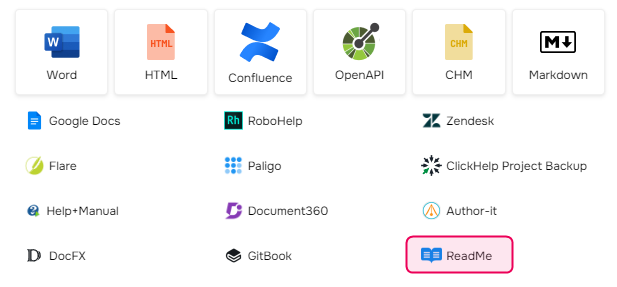
- Select the ReadMe option:

- Specify where to import the content: create a new project or add the topics to an existing project. If creating a new project, give it a name in the Project name box and specify the Project language.
- Click Next.
- Upload the .zip archive with ReadMe Markdown files to the corresponding area—either drag and drop the file or browse and select the file on your PC. After uploading, the file will appear in that area.
- Specify Topics encoding and whether to download externally linked images and files.
- Click Next.
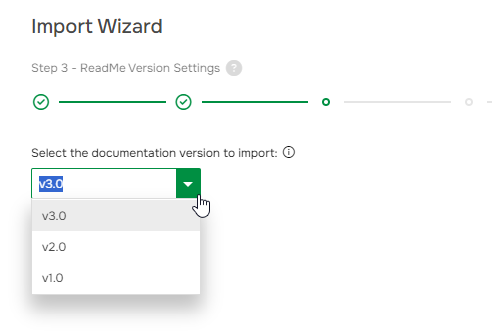
- Select the version of your documentation that you want to import.

You can import only one version of your ReadMe documentation at a time. If you need to import other versions, start the importing process again after the current one is finished.
- Click Next, and the importing process will start.
- Once the import is finished, click Next. You will see the link to a project and to project style files.
That's how you can import your ReadMe documentation to ClickHelp. Note that there are some ReadMe import specifics; you can read more about them here.