ClickHelp User Manual
Import from Document360
A project exported from Document360 as a ZIP archive can be imported to ClickHelp directly. To import your Document360 zipped project, follow the steps below.
- Click Import on the Projects page.
-
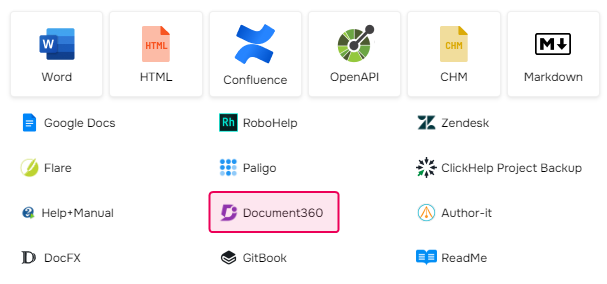
Select the Document360 format.

- Leave the Document360 zipped project option in the Import format box and specify where to import the content: create a new project or add the topics to an existing project. If creating a new project, give it a name in the Project name box and specify the Project language.
- Click Next.
-
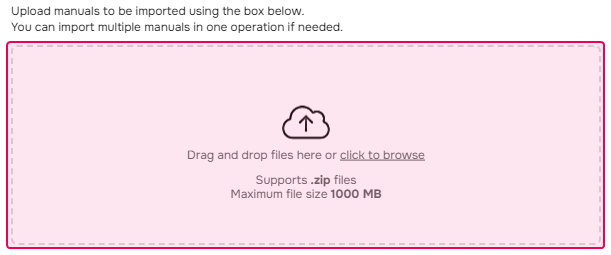
Upload your Document360 project files (.zip) to the box highlighted in the screenshot below. You can drag and drop the files or browse them on your PC.

-
Below the upload area, specify the following import options:
- Topics encoding.
- Whether to download externally linked images and files or not.
- How to process the content styles. For more details on the options, refer to Handling Content Styles.
- Click Next. If you selected more than one workspace during the Document360 content export, the Document360 Project Workspace Settings step of the Import Wizard opens. If not, go to Step 10.
- Select the project workspace you want to import. For more information on importing different workspaces, refer to the following topic: Document360 Import Specifics.
- Click Next. After the import is finished, you'll see the window containing links to your imported project and styles.
- Click Finish.
Now, you have your Document360 documentation imported into ClickHelp!