ClickHelp User Manual
Import from MadCap Flare
You can import your MadCap Flare project files directly into ClickHelp. We support the .flprjzip and .zip file formats.
- Click Import on the Projects page.
-
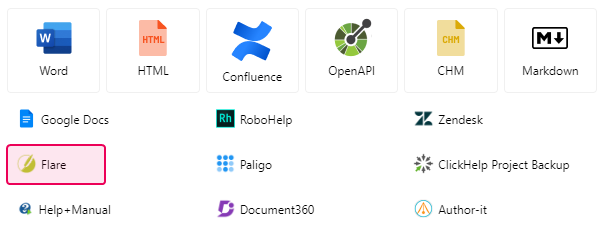
Select Flare.
- Specify where to import the content: create a new project or add the topics to an existing project. If creating a new project, give it a name in the Project name box and specify the Project language.
- Click Next. The Import Settings step of the Import Wizard opens.
-
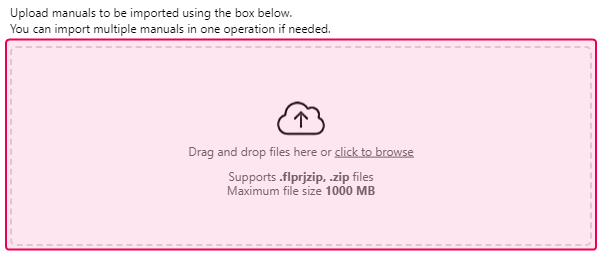
Upload your MadCap Flare files (.flprjzip and .zip) to the area highlighted in the screenshot below. You can either drag and drop the files or browse them on your PC. Uploaded files will appear in the same area.
-
Below the drag&drop area, set up the following import options:
- How to handle the unsupported elements. You can learn the details on processing the unsupported elements here: MadCap Flare Import Specifics.
- Topics encoding.
- Whether to download externally linked images and files or not.
- How to process the content styles. For more details on the options, refer to Handling Content Styles.
- Click Next. If the MadCap Flare content you are importing contains Targets (Condition Tag Sets), the Target Settings step of the Import Wizard opens. If not, go to Step 10.
-
Select the Target (Condition Tag Set) you want to use for the imported Condition Tags. Read more about the Condition Tags conversion here: MadCap Flare Import Specifics.
If several projects are imported, you can select which Target (Condition Tag Set) to use for each one. - Click Next and wait until the import process is finished.
- Click Finish.