ClickHelp User Manual
Import from HTML
As a part of the migration process, you might need to import your HTML content. This topic will show you how to do it.
|
Migration and import are not the same. Import is a tool that significantly speeds up the migration process, but it is only a part of it. You should always manually check every import to ensure no content is missing and the styling is preserved where necessary. In ClickHelp, we provide Migration Services. Contact us at sales@clickhelp.com if you're interested! |
- Prepare your .zip archive for ClickHelp to preserve the TOC hierarchy as described in Preparing HTML for Importing.
-
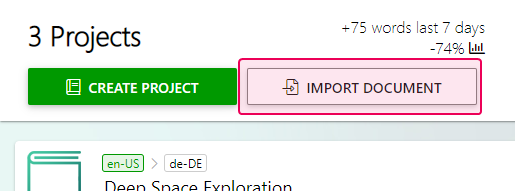
Head over to your ClickHelp Projects page and click Import.
-
In the Import Wizard, select HTML, and specify where to import the content: create a new project or add the topics to an existing one.
-
If you are creating a new project, give it a name in the Project name field, specify the Project language and click Next.
-
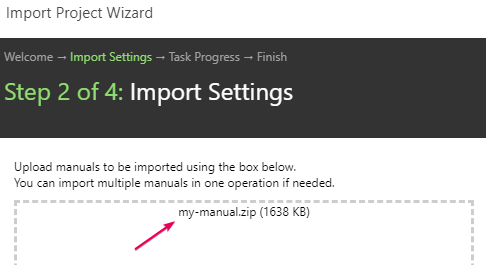
Drag&drop your archive into the drop area or click on it to browse your way to the archive.
-
Set up the import details.

Note If you are importing an HTML archive into an existing project, you'll be offered to decide where to store the imported images. Consider creating a separate folder for your imported images to improve your project's file structure and make it easier to handle in the future. -
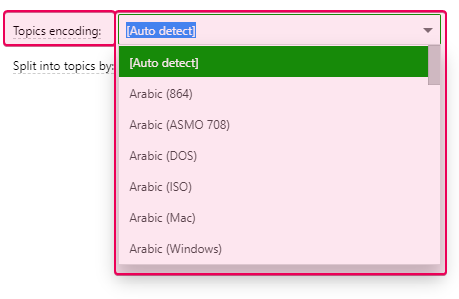
Choose the correct
Topics Encoding on the right side of the
Wizard or leave the
Auto detect setting.
-
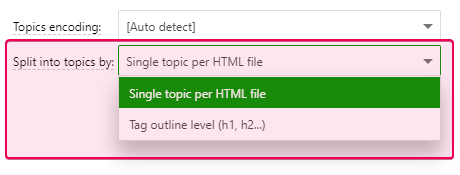
Choose the way how the system will split the imported document into topics.
-
Choose the correct
Topics Encoding on the right side of the
Wizard or leave the
Auto detect setting.
- Choose how ClickHelp should handle the styles in your document after importing it. There are three options available. In the dialog itself, you can read some basic information about those three options. To get more in-depth information, check the Handling Content Styles help topic.
The Alt text attribute is preserved for images, no matter what style importing strategy you choose in the previous step. - Click Next and wait for the Wizard to complete importing your documents.
-
Click
Next to open the final step of the import process - you will see the links to your imported project and style files.
You'll end up with a new or existing project containing your content. We suggest reading Authoring section now to learn more about working with the content.