Project Icon
Customizations make your documentation more personal and recognizable; that's why ClickHelp provides you with different branding options that don't require CSS knowledge. In this topic, we will tell you how to add an icon to your project and change its sort order in publication lists.
- Add Project Icon
- Scenario #1. Add Publication Icon to Home Page
- Scenario #2. Add Publication and Mouse Hover Icons to Home Page
Add Project Icon
To add a project icon, do the following:
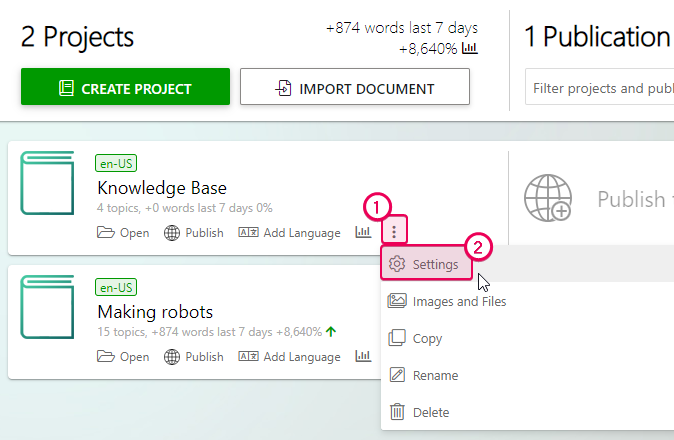
- Open Projects page.
- Click the three vertical dots button, then click Settings.
- The Basic Settings page will open.
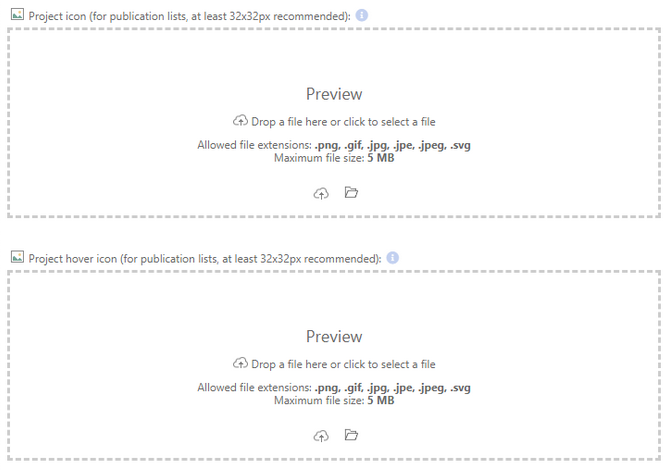
- Drag and drop icons to the relevant areas (at least 32x32px recommended).
- Click Save Changes.
- As you may notice, we apply these settings to a project, so when you publish it, its icon and title will appear on the left sidebar.
-
Here is the result:

If you want to add an icon to an existing publication, open the publication settings and proceed with the above steps.
Here are some other scenarios.
The WYSIWYG Home page editor mentioned here has been deprecated since the Amber release (Autumn, 2023) and is subject to removal in future releases. Please consider using the new block editor instead. |
Scenario #1. Add Publication Icon to Home Page
If you want a publication icon to be shown on your Home page, do the following:
- Firstly, add an icon for a publication as it's described above.
- On the Home page click the Edit Home page option.
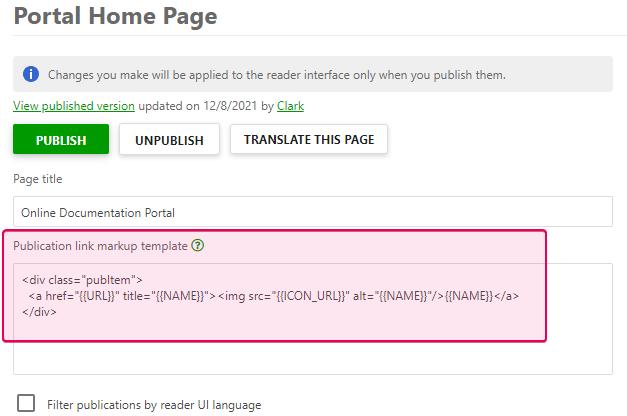
- Insert the following code in the Publication link markup template field:CSS
<div class="pubItem">
  <a href="{{URL}}" title="{{NAME}}"><img src="{{ICON_URL}}" alt="{{NAME}}"/>{{NAME}}</a>
</div> - Here is what it should look like:
- Click Save Changes.
If an icon is bigger than a publication title, do the following:
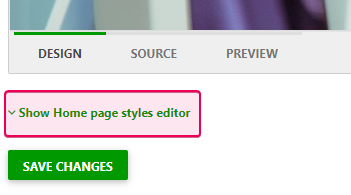
- Open the Portal Home Page settings.
-
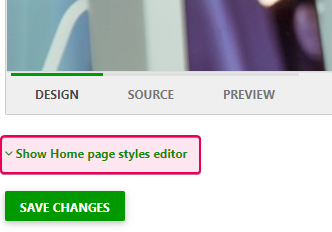
Scroll down and click Show Home page styles editor.
-
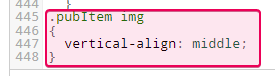
Add the code as it's shown in the screenshot.
- Click Save Changes.
Scenario #2. Add Publication and Mouse Hover Icons to Home Page
Follow the steps:
- First, add icons for a publication as it's described above.
-
Open the Portal Home Page settings.
-
Add the following code to the Publication link markup template field.
HTML<div class="pubItem">
<a href="{{URL}}" title="{{NAME}}"><img src="{{ICON_URL}}" alt="{{NAME}}"/><img src="{{HOVER_ICON_URL}}" class="pubHoverIcon" alt="{{NAME}}"/> {{NAME}}</a>
</div>
-
Then scroll down and click Show Home page styles editor.
-
Add the following code:
HTML.pubHoverIcon,
.pubItem a:hover img
{
display: none;
}
.pubItem a:hover .pubHoverIcon
{
display: inline-block;
}
-
If icons are higher than publication titles, add the following code, as well.
HTML.pubItem img
{
vertical-align: middle;
}
- Click Save Changes.