ClickHelp User Manual
Reader Menu Editor Scenarios
Here are some use cases to make your experience with the Reader Menu Editor more effective.
- Scenario #1 - how to add an image menu item
- Scenario #2 - how to create a button
- Scenario #3 - how to colorize menu items
- Scenario #4 - how to center-align menu items
- Scenario #5 - how to center-align menu items between your logo and other elements
Scenario #1 - how to add an image menu item
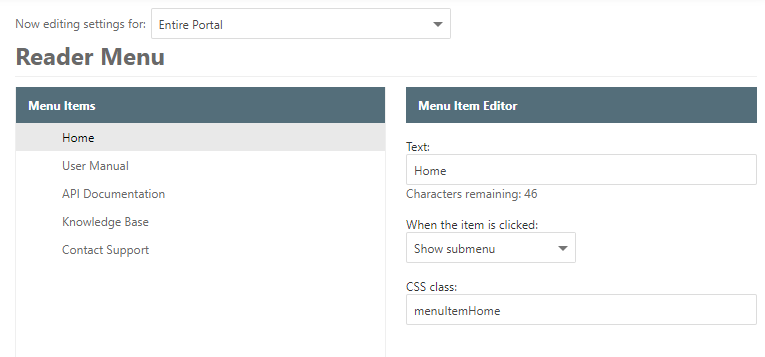
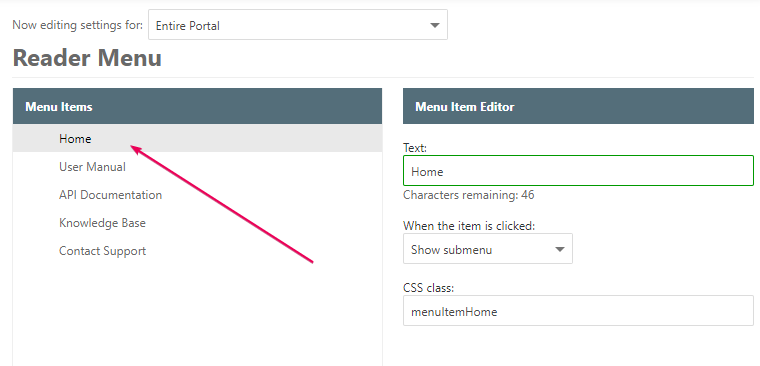
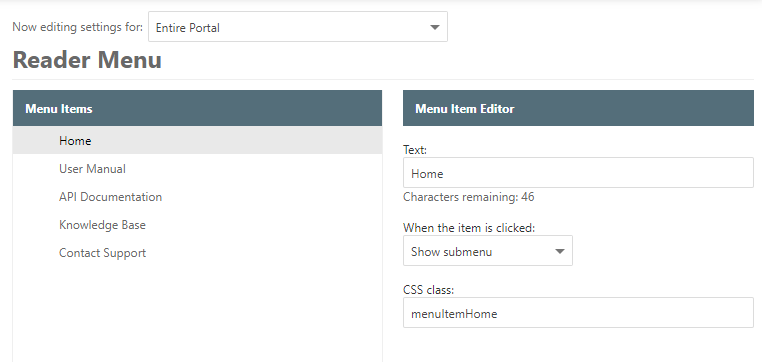
- Open Reader Menu.
-
In our Reader Menu editor, we've already created some items.
-
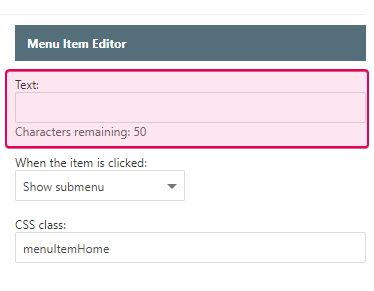
In order to replace a text with an image, we need to delete the item
text.
-
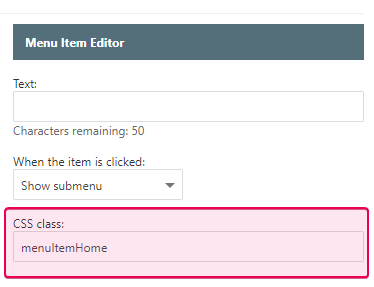
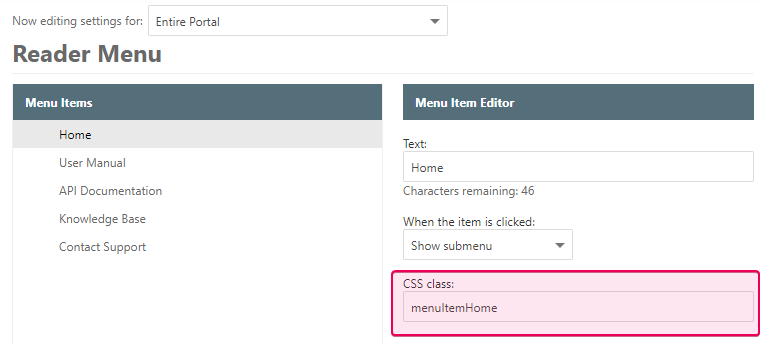
Fill in the CSS class field. In our case, it will be menuItemHome.
- Click Save Changes.
-
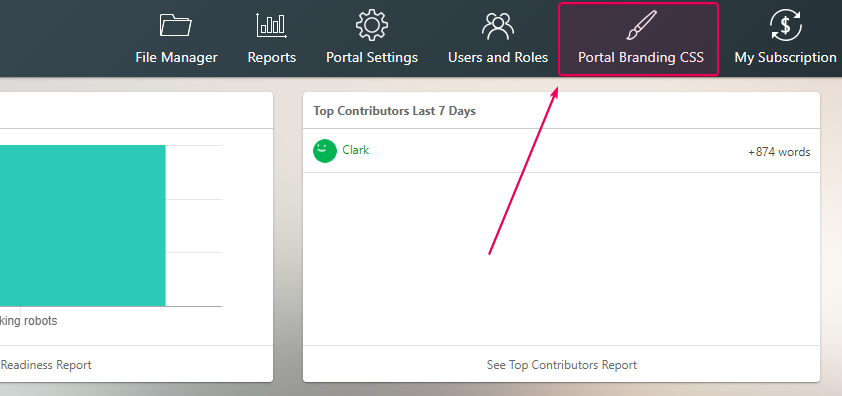
Then open Portal Branding CSS.
-
Copy and paste the following code.
CSS.menuItemHome
{
background-image: url(/resources/Storage/Branding/home.png);
background-repeat: no-repeat;
width: 32px;
background-position: center;
}
-
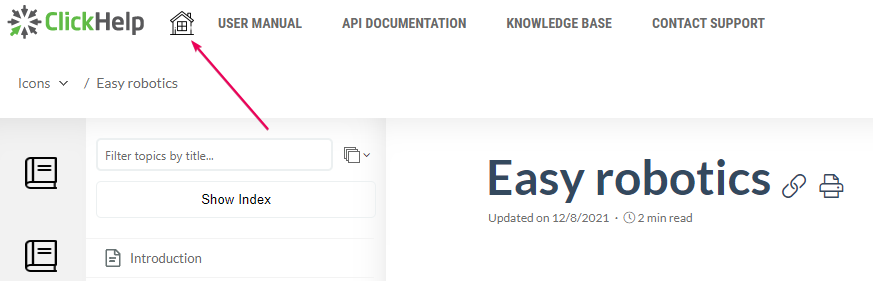
Here is the result.
Scenario #2 - how to create a button
- Open Reader Menu.
-
As we have menu items yet, we've decided that the Home menu item will be a
button.
-
Customize your CSS class. In our case, it will
be menuItemHome.
- Click Save Changes.
- Then open Portal Branding CSS.
-
Copy and paste the following code.
CSS.menuItemHome:hover
{
background: transparent !important;
}
.menuItemHome a
{
background: #009900 !important;
color: white !important;
transition: background-color .1s !important;
border-radius: 3px;
padding: 10px !important;
display: inline !important;
}
.menuItemHome a:hover
{
background-color: #00aa00 !important;
}
-
Here is the result.
Scenario #3 - how to colorize menu items
- Open Reader Menu.
-
We've already created five menu items.
- Open Portal Branding CSS.
-
Now, we should set up CSS classes for every menu item. In our case, we will set up .menuItemHome for the
Home menu item. Then, we
paste the following code.
CSS.menuItemHome a
{
color: #00695c !important;
}
.menuItemHome:hover a
{
color: white !important;
background-color: #00695c !important;
}
.menuItemUserManual a
{
color: #0277bd !important;
}
.menuItemUserManual:hover a
{
color: white !important;
background-color: #0277bd !important;
}
.menuItemApiDocs a
{
color: #283593 !important;
}
.menuItemApiDocs:hover a
{
color: white !important;
background-color: #283593 !important;
}
.menuItemKb a
{
color: #6a1b9a !important;
}
.menuItemKb:hover a
{
color: white !important;
background-color: #6a1b9a !important;
}
.menuItemSupport a
{
color: #bf360c !important;
}
.menuItemSupport:hover a
{
color: white !important;
background-color: #bf360c !important;
}
-
Here is the result.
Scenario #4 - how to center-align menu items
Imagine we have four menu items. So, open Portal Branding CSS, then copy and paste the following code:
CSS |
.BaseMaster_mainMenuContainer |
Here is the result:

Scenario #5 - how to center-align menu items between your logo and other elements
For example, we have three menu items. So, open Portal Branding CSS, then copy and paste the following code:
CSS |
.BaseMaster_mainMenuContainer #pnlMainMenuContainer |
In this case, keep in mind that you should customize the width attribute based
on the number of your menu items.
Here is the result: