ClickHelp User Manual
Email Notification Templates Customization
If you have the Branding module included in your license, you can edit the email notification templates, and they will be used instead of the default ones.
How to Edit Email Notification Templates
To edit template files, do the following:
- Go to Projects page and click the File Manager item of the Main Menu.
-
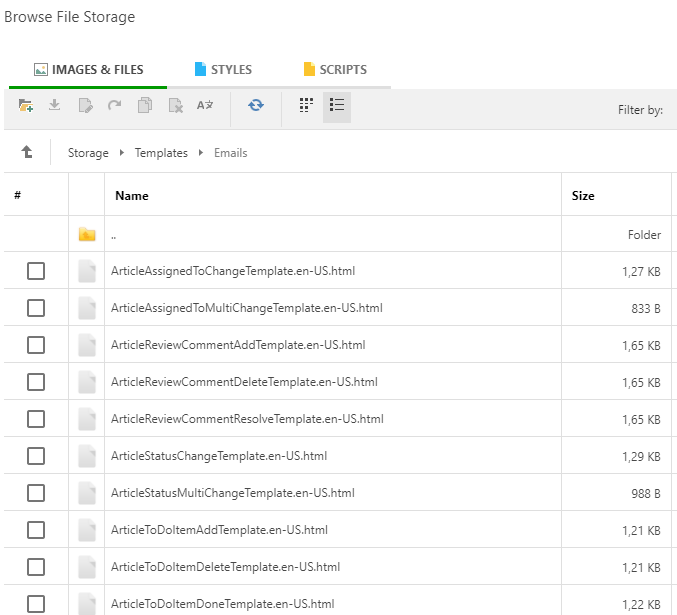
Navigate to the /Storage/Templates/Emails folder. You will find several files with names like CreateUserTemplate.en-US.html there — these are the email notification template files.
You can learn when each template file is used from the following topic: Email Notification Templates. -
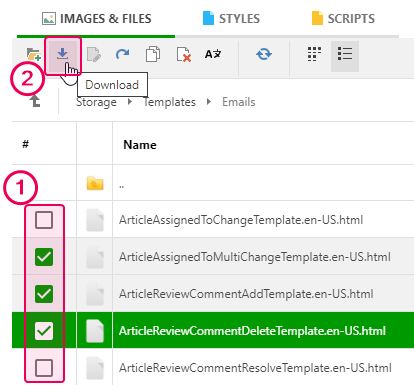
Download the template file you want to edit by right-clicking on it and selecting Download. Or you can download several files at once by ticking the checkboxes next to them and clicking Download on the toolbar:
-
Open the downloaded HTML file using an HTML editor of your preference. If you don't have any, we recommend downloading Visual Studio Code. You will see the HTML markup, something like this:HTML
<html>
<head>
<title id="subject">{{USER_FIRST_NAME}}, your ClickHelp API key has been reset</title>
</head>
<body>
<p>Hello {{USER_FIRST_NAME}}!</p>
<p>Your ClickHelp API key has been reset successfully.</p>
<p>Here is your new API login information:</p>
<p>Server: <b><a style="color:#009900 !important" href="{{SENT_FROM_URL}}" target="_top">{{SENT_FROM_URL}}</a></b><br />Login: <span style="font-weight:bold">{{USER_LOGIN}}</span><br />API key: <span style="font-weight:bold">{{API_KEY}}</span></p>
</body>
</html> -
The content of the <title> tag becomes the subject of the notification message. The content of the <body> tag becomes the content of the message. Note that you can use predefined placeholders inside both tags, which will be replaced with specific content in the final message. You can find a complete list of available placeholders here. Placeholder names shouldn't be changed — all unknown placeholders will be removed from the message.
Make the desired changes and save the file.
Warning Different email clients have different HTML and CSS limitations, so it is recommended to use only the most common HTML tags and CSS properties.
You can find information about HTML and CSS supported by different email clients on various Internet resources. For example, this one: Can I email - All HTML and CSS features (www.caniemail.com). -
Upload the template file back to your portal storage and replace the original.

Important If a template file is incorrect in any way (no content, broken HTML markup, etc.), the system will use a built-in default template.
The notification message you changed the template file for should now look like you designed it.