Import from CHM
ClickHelp offers you the CHM import functionality. The CHM format is still one of the most popular formats in the documentation authoring field for the Windows platform. Although CHM is considered a bit obsolete, still, many applications are shipped with the user documentation stored in this format, and the majority of help authoring tools support it.
|
Migration and import are not the same. Import is a tool that significantly speeds up the migration process, but it is only a part of it. You should always manually check every import to ensure no content is missing and the styling is preserved where necessary. In ClickHelp, we provide Migration Services. Contact us at sales@clickhelp.com if you're interested! |
Further, you will learn how to import your existing CHM manual to work with it in ClickHelp.
Project Import from CHM
ClickHelp supports importing an existing CHM manual to a new project and adding topics to an existing one. The importing process preserves the Table of Contents structure, the Index keywords, styles, and scripts of the original manual.
| When importing a CHM file to ClickHelp, its chapters and pages are converted to topics nodes with children and topics without children. But if a CHM page is set as an empty topic, ClickHelp will convert it to a folder. You can read about the difference between topics and folders here. |
To import a CHM file:
- Click Import either on the Projects page or in the bottom-left of the Topic Editor page.
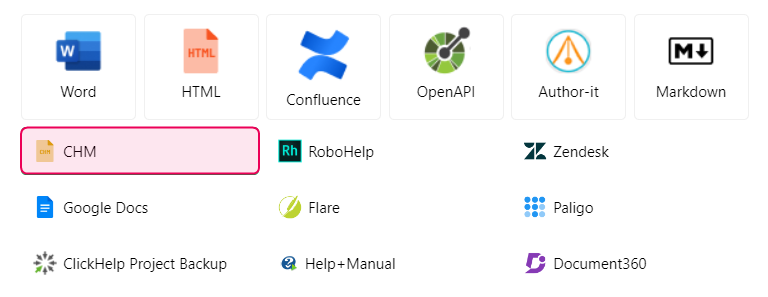
- Choose the CHM option (Microsoft Compiled HTML Help) in the wizard.

- You can create a new project or add the topics to an existing project. If you want to create a new project, give it a name and specify the Project language.
- Click Next and upload your CHM file to the ClickHelp file storage (either drag&drop it or browse the way to the file on your PC), and it will immediately appear in the Uploaded Files.
- Then, you can to configure the Topics encoding. Make sure to set this setting if you do not have the encoding specified explicitly in the imported HTML files.
- Click Next.
- On the last step, you will see the importing log. You may see some warnings in the log - they are typically about the broken links in the topics, you can fix them later.
- Click Finish.
The standard CHM viewer uses Internet Explorer control to display the contents. In other browsers, the same styles may look a little bit different. So, you may want to modify the style files of the newly created project:
- On the Projects page page hover your mouse over the needed project and click the gear icon in order to open the Project Settings.
- Navigate to the Basic Settings category.
- In the Project Styles list, you will see the CSS files imported from the CHM file. Typically, there is only one file there.
-
Click
 near the CSS file entry to open it for editing. The editor will open in a new browser window.
- To start editing the file, click Edit in the top-right corner of the window.
- Save your changes and click the Unlock & View button to apply the changes.