Import from docfx
ClickHelp allows you to import documentation produced by docfx — a tool that automatically generates documentation for your C#, VB, and other supported source code files. So that you can, for example, create your C# SDK reference in ClickHelp.
As an output, docfx produces an archived set of HTML pages with their dependencies. This topic will guide you through importing it to ClickHelp.
|
Migration and import are not the same. Import is a tool that significantly speeds up the migration process, but it is only a part of it. You should always manually check every import to ensure no content is missing and the styling is preserved where necessary. In ClickHelp, we provide Migration Services. Contact us at sales@clickhelp.com if you're interested! |
Docfx can also produce PDF files that can be imported to ClickHelp, but, in this case, the TOC structure will be lost during the import. When using an archive of HTML files, the importing process will preserve the original TOC structure, styles, and scripts. So, we recommend using an archive of HTML files for import.
To import documentation generated by docfx, do the following:
- Click the Import button on the Projects page or the Import button at the bottom-left of the Topic editor page.
-
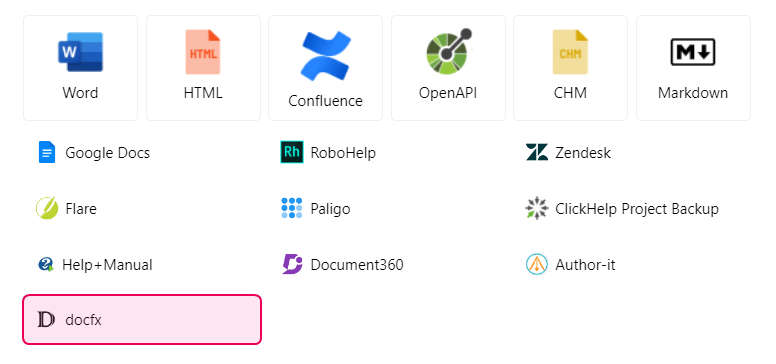
Select the docfx option in the wizard.

- If you are creating a new project, name it in the project name field and specify the project language.
- Click Next and drag and drop or click to pick the file from your computer.
- Click Next and proceed to the third wizard step, where the import is performed.
- Once you get to the final page, you can navigate to the project by clicking Open project or close the wizard by clicking Finish.
This is how you can import docfx documentation into ClickHelp. You can refer to the Import Wizard Reference guide to learn more about the options available.