Project Templates
ClickHelp comes with a number of ready-to-use documentation style templates. Those templates have ready styles, scripts, and images created by our designer.
Creating a Project from a Template
To use a template for a new project:
- Navigate to the Projects page page.
- Click Create Project.
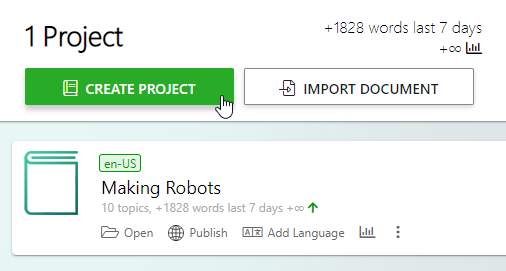
- In the wizard, specify a project name, select one of the templates and click Next .
The newly created project will have a couple of help topics. Those topics give some useful links and demonstrate how to use some elements in your content. If you want to modify the styles defined for the newly created project, you can easily do this by editing the style files of the Project.
Modifying a Project Style
Every template includes:
- a CSS file
- a script file
- images, icons, backgrounds
You can find the list of project style files and manage them in the Styles section of the Home tab of the Design mode ribbon bar. If you click Open '.css' For Editing, the very first CSS file on the list of project CSS files will open in a new tab. In case you want to open some specific CSS file, you can use the next ribbon element - Manage Project Style Files, or click the Current Project button that's at the top of the page, then click Settings → General → Basic Settings.
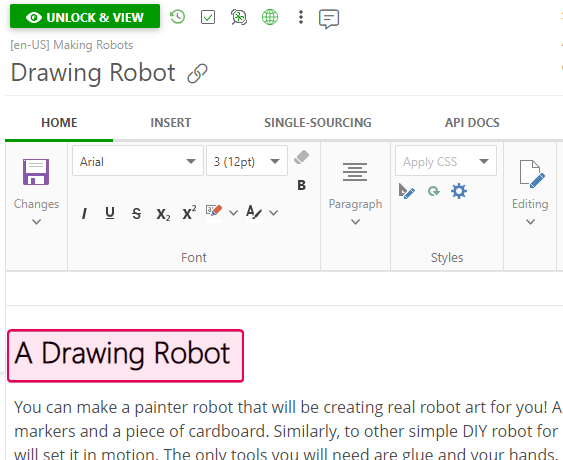
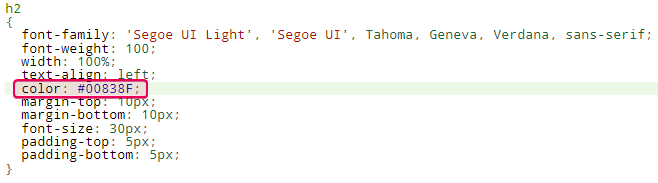
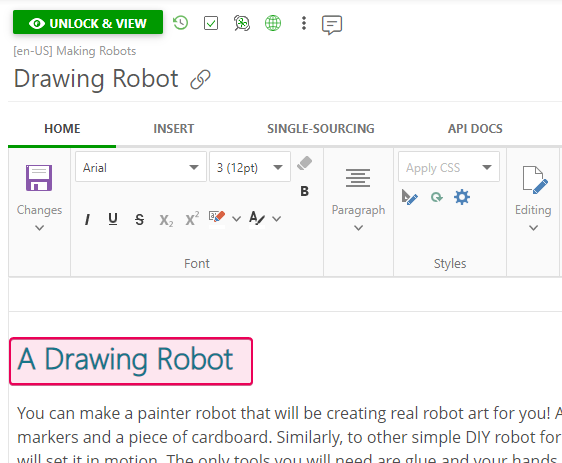
Let's take a look at the following example where we need to change, for example, the color of the heading. At first, we have it in black: