Styling Projects Created From Templates
ClickHelp offers 6 ready-to-use templates to choose from when creating a Project. A ClickHelp template includes CSS files, script files, images. Each template has its unique responsive design. The templates are tested to work smoothly on various screen sizes including tablets and mobile screens.
After you create a Project, you get a copy of the chosen template (all its files). They can be found in the ClickHelp File Storage. Therefore, you can edit any of the files to change the Project's appearance.
|
|
Note |
|
To return to a template's initial state, create another Project using
the same template and copy the needed files from there, or simply do the
back up of the files you are about to change. |
|
Changing Font in a Project Created from a Template
In the example below, you will see how to change the default text font of a template. By default, Open Sans (an online font taken from Google Fonts) is used in the body of this template.
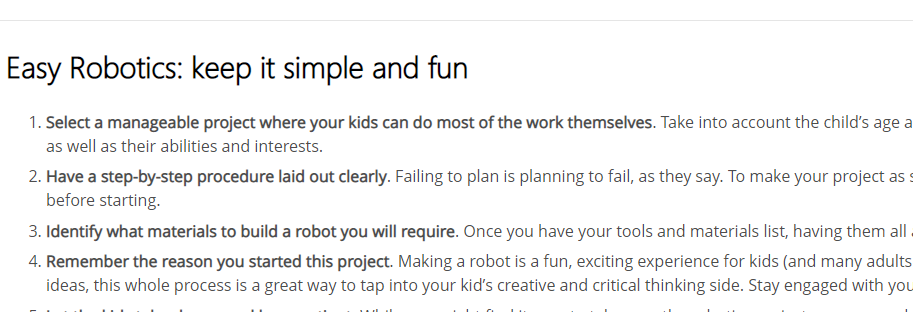
-
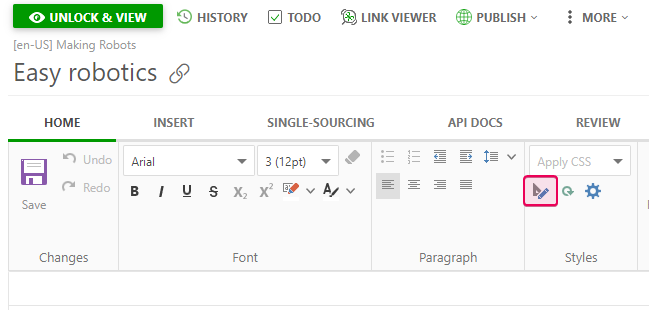
Click the Open For Editing button on the Styles section
of the Home tab of the editor's ribbon bar to open the Project's
style file in the Styles Editor.
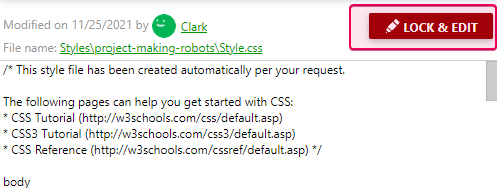
-
In the Styles Editor, click the Lock & Edit button.
-
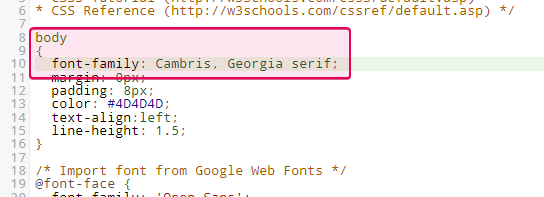
If you want to change the text font, you should look for the
font-family property inside the body selector.
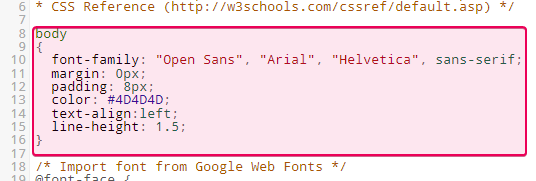
-
Type in the necessary value.
- Save the changes.
-
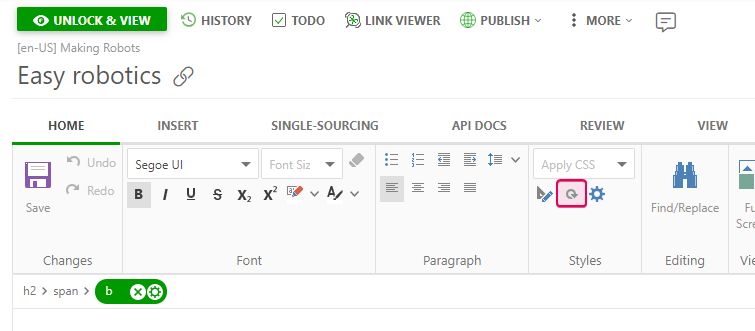
Return to the help topic and click the
Refresh CSS Styles button for a quick styles refresh.
This is what the help topic will look like with the new font-family specified in the style file:
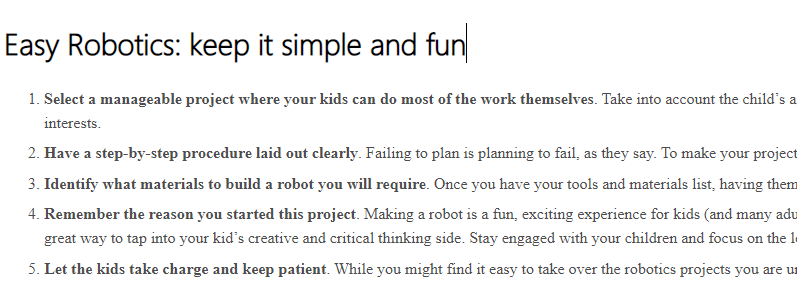
This new font will be applied to the whole Project.
|
|
Note |
| In ClickHelp, alongside the default fonts, you can use external online fonts and also upload your own font files to the ClickHelp File Storage and reference them in your CSS file. | |