Using Your Own Fonts
In ClickHelp you can add your own fonts. Here are the steps that will help you add fonts easily.
Step 1. Upload Your Font Files to ClickHelp File Storage
- Create a root-level folder called Branding (so, you'll put there all files related to your custom styles).
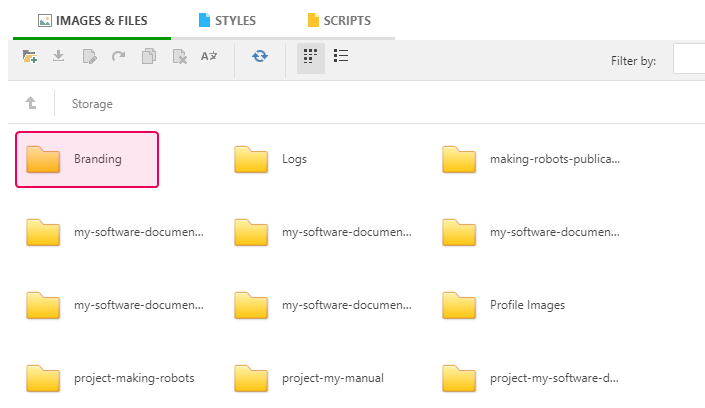
- Once the folder is created, open it and then drag&drop your unzipped font files there.
Now you can close your ClickHelp File Manager and proceed with the next step.
Step 2. Define your own font family in CSS
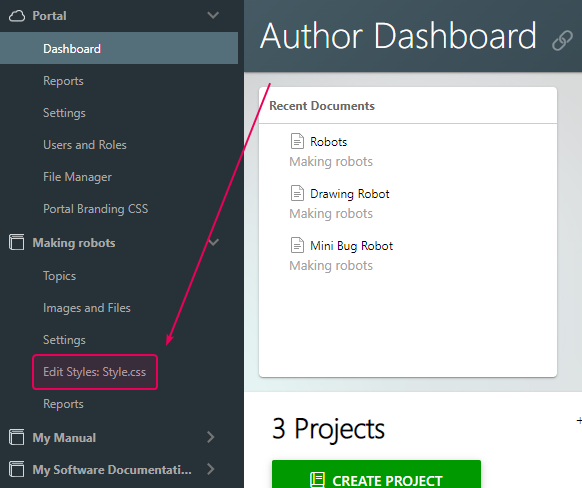
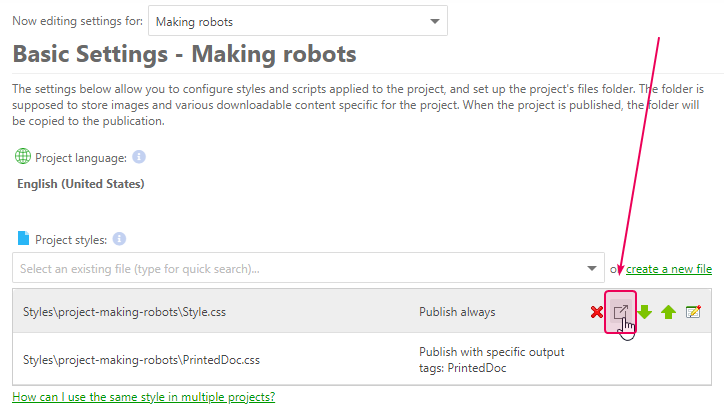
Below, you will find the CSS code that you'll need to add to the project CSS styles for every project - it defines your own font family name, and points to the font files in the File Storage. To open your project CSS file, you can use the Edit CSS command on the Projects page page in the left-hand navigation bar under your project name.
Alternatively, you can open this file from the topic editor while you have any topic of this project open for editing. Click Current Project → Settings → Open for Editing.
So, speaking of your font family name, let's call your custom font family MyFont. Here is the relevant CSS:
CSS |
{ |
Once you open your project CSS file, click Edit and insert the font-face definitions at the very beginning of the file.
If you need to use this font outside of your project topics, in your branding styles (like Home page font, etc), you will also need to add the same font family definitions into your portal branding CSS file. You can open the file by using Tools→Edit Portal Branding CSS in the main menu.
We've added the font family definitions in the relevant CSS files. Let's proceed.
Step 3. Use your font family in your project styles
To use your own font now, you can just specify the font family name, like this:
CSS |
body { |
However, in CSS, it is a common practice to specify fallback fonts, which a browser can use if it can't use the very first font specified. We recommend using this fallback approach for your font as well. For example, your font stack may look like this:
CSS |
body { |
This is just a recommendation, you are free to use your own font stack sequence - you may want to check on this with your design or web teams.
Step 4. Add your custom font to the Fonts dropdown list in your portal
After step 3, you can already use your font in your CSS styles that apply to your content. If you would also like to see your custom font in the Fonts dropdown list of the topic editor, please contact us at support@clickhelp.com - we will add a new font name to that list for your portal.
|
|
Tip |
| Use centralized styling with CSS stylesheet files instead of inline styling for easier styles management whenever possible. | |
That is, if your heading 2 elements inside a topic must have 16px font size, it is best to define this through your project CSS instead of selecting each heading 2 element and applying the font size through the Size drop-down. Using CSS makes it easier to maintain your styles going forward and ensure they are used consistently.