Applying Template Styles to Imported Projects
When you import projects to ClickHelp, you may want to apply template styles to those projects. Here is how you can do this:
-
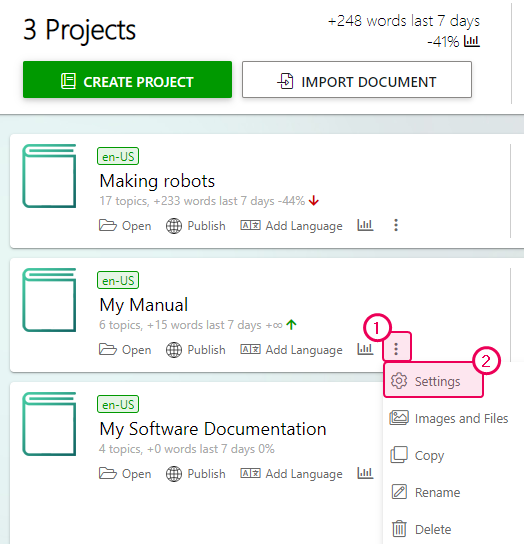
First, you'll need to remove all the imported project styles. Go to the
Projects page page and select the Settings option for the
specific project.
-
On the Project Settings screen, click the Delete button and
remove the imported styles one by one:

Note that this will not actually delete the style files from your ClickHelp storage, it will just prevent the project from loading them. So, if you change your mind later, you will be able to re-apply your original imported styles.
Next, you will need to retrieve the template project styles. For that:
- Create a new project with the template you need.
-
Open the File Manager from the main menu and create a new folder
(e.g. "Styles\Shared Styles").
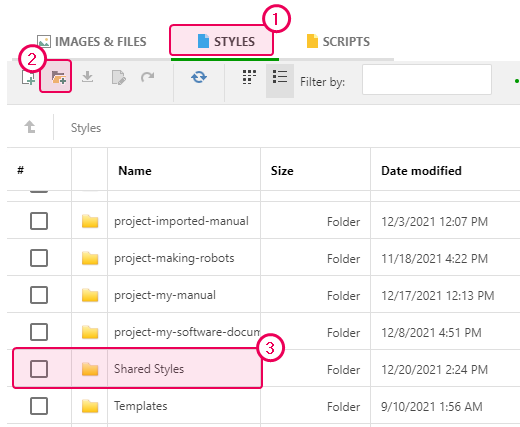
- Move the template project's styles from the newly created project folder to the new folder.
- Delete the project created at the first step as you no longer need it.
Finally, you'll need to apply the style files to all of your imported projects. To learn more, refer to this topic: Reusing Style Files.
Moreover, you'll need to clean up your styles in the imported content, to delete all unnecessary styling. You can do this using the Global Find and Replace functionality.