Page Header and Footer
ClickHelp provides different predefined templates, but you can brand various elements of the Reader UI. For example, a header and a footer. We'll tell you how you can customize these elements in this topic.
Basic Customization Options
You can visually set up several options to make the portal look more authentic. You can find all the settings following these steps:
- Open Projects page.
-
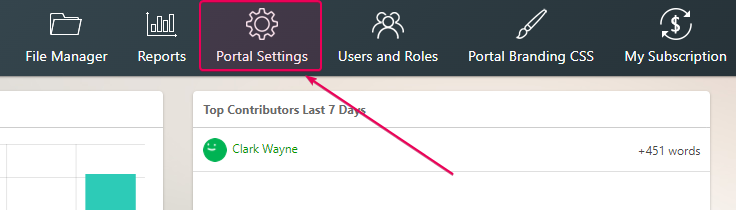
Click Portal Settings.
-
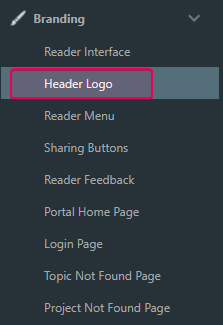
Select Header Logo.
Here are the options you can set up there:
- Company logo. This makes the first impression when someone visits your portal: based on the logo in the top-left corner, they realize they got to the right place.
- Favicon. This is a small 16x16 icon you see in the browser tab next to the page title when your portal page is open. In order to add it, go to Portal Settings - Header Logo.
- Header logo tooltip. This is just a text snippet that shows up when you hover the mouse over the logo image in the header. However, since this element is at the very beginning of the page, search engines will give it additional attention.
- Header Logo URL. The logo image in the header is actually a link, and you can specify any URL for that link. Typically, it makes sense to link your company website there so your documentation portal visitors could easily jump to your website for product information, pricing, etc.
Customizing Header
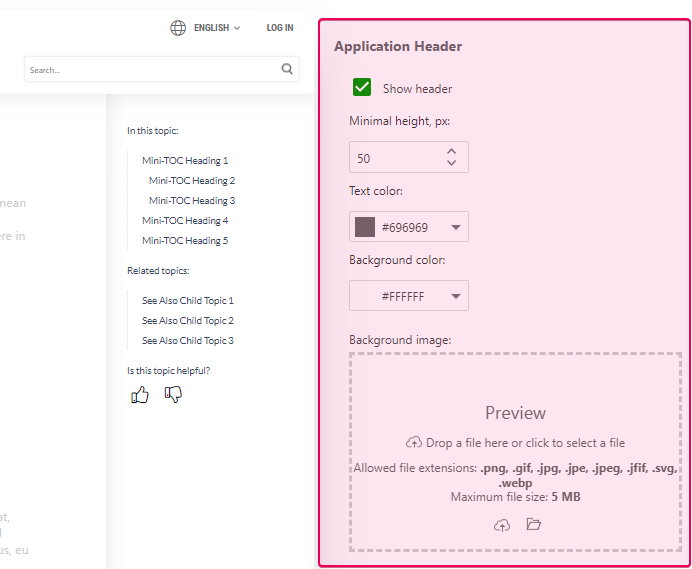
To customize a header, go to Portal Settings → Reader Interface. On the right, you'll see the customization options. You need to scroll it down and find the Application Header section. There you can customize:
-
Minimal height.
-
Text color.
-
Background color.
-
Background image.
Customizing Reader Menu
You can also add Reader Menu Items to a header to make navigation more efficient. Here is an example:
To learn more, refer to this topic: Reader Menu Editor.
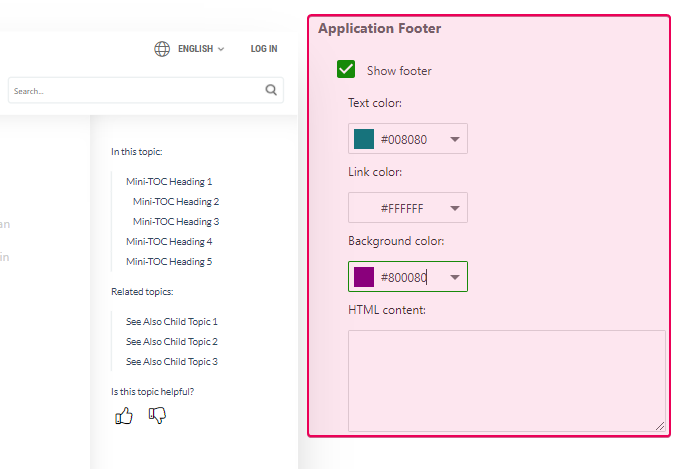
Customizing Footer
As a rule, tech writers provide useful links and company contact information in a footer, give website links, and any other information you feel important to be in each topic. To customize it and add the necessary information, go to Portal Settings - Reader Interface. On the right, you'll see the customization options. You need to scroll it down and find the Application Footer section. There you can customize:
-
Text color.
- Link color.
-
Background color.
- HTML content.
To customize your header and footer, we highly recommend that you use the Reader Interface settings. However, if it's not enough, you can use Branding CSS for advanced customization: Advanced Branding with CSS.