TOC Styling
Table of Contents is a tree-like structure your readers see to the left of the topic contents. This is a navigation mechanism for the readers.
To make some nodes stand out or to match your company style better, you can change the icons shown to the left of each node. Each node can have three different icons depending on its state: single node icon, collapsed node with children, expanded node with children. There are two ways to change the icons for the nodes.
TOC Node Icons in Topic Properties
You can change default icon images of your TOC. To do this, follow the steps:
-
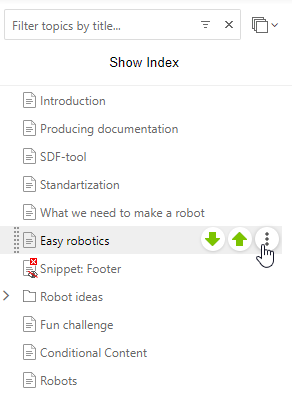
Go to the
Topic Properties. Just hover your mouse over a node and click the element marked on the screenshot. Then click Properties...
-
In the
General
section of the
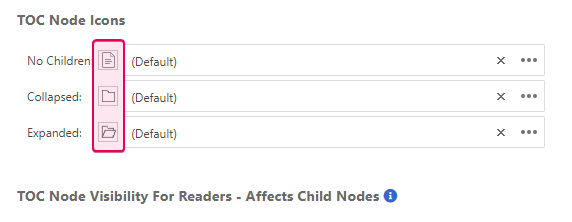
Properties, find the TOC Node Icons settings.
-
Click the second element next to the icon you'd like to change to upload a custom icon image to the
Storage
from your PC or choose an existing one.

-
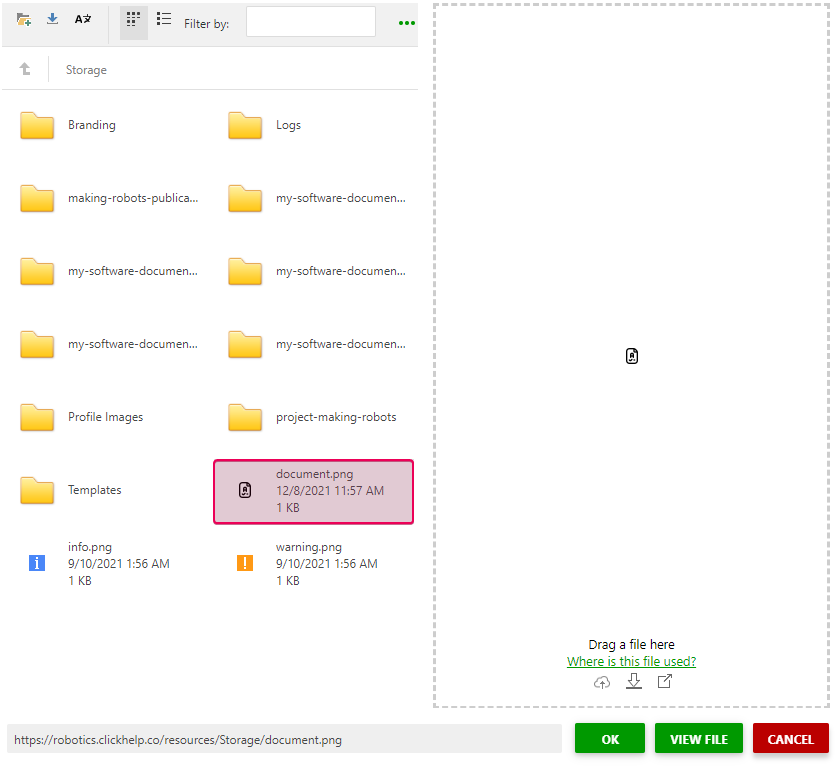
In the appeared dialog window click
Browse..., find the needed icon on your computer, click
OK, and then
Upload or just drag and drop your file to the drop zone. The image will appear in the
Storage.
-
Select it in the dialog and click
OK. Now, you can see the new icon in the
TOC Node Icons
section.

-
Save the changes (click the
Save Changes
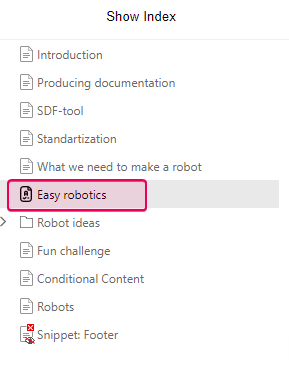
button at the bottom of the page) and notice that the default icon has been changed in your
TOC
.
-
To use the default icons instead, click the
Remove Custom Icon
element and save the changes. Your default icons will be restored.

TOC Node Icons in Branding CSS
As you can see on the screenshot above, we changed an icon only for one topic, the rest of the icons are the default ones.
When the topic icons are set to Default, they can be also overridden in the Branding.css file: this is a style file you can use to brand many things in your documentation portal. You can specify this file name in the portal settings (Tools → Portal Settings → Branding → Reader Interface).
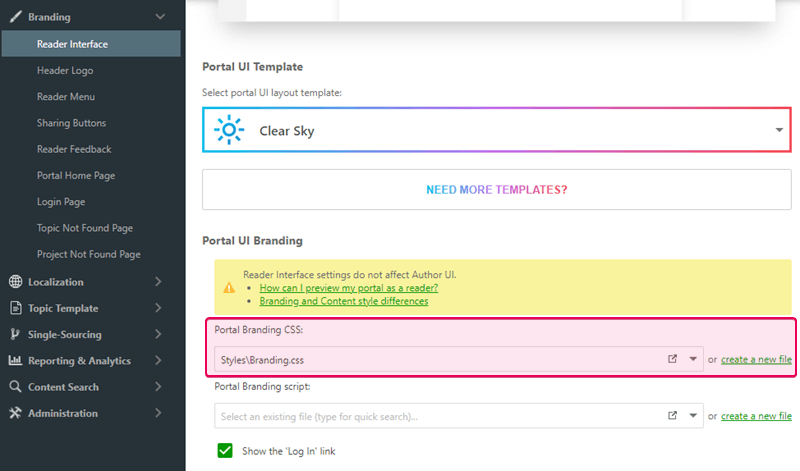
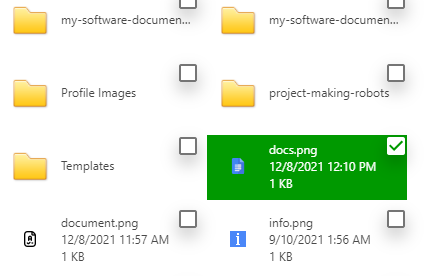
To specify the Node Icons through the branding style file, we'll need to open the file via the File Manager...
Go to File Manager... at the top of the page and select the Styles tab there.
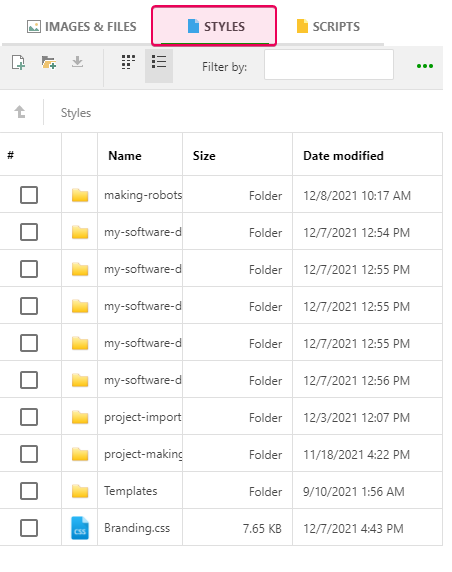
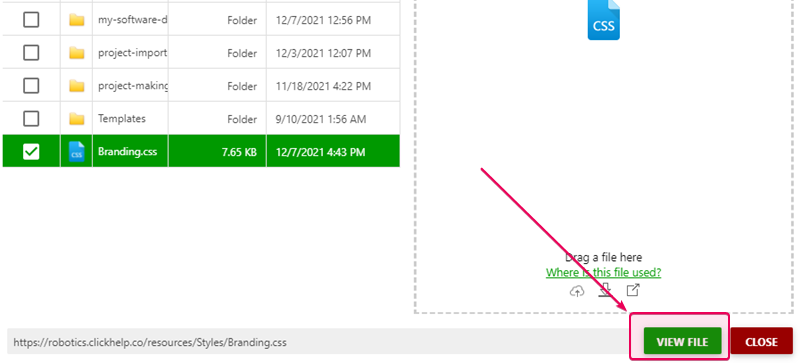
And, here is the BrandingSample.css file. Click View File to open it in the editor.
The editor will open in a new window. Click the Lock & Edit button in its top-right corner.
Now, let's find the relevant CSS code in the file and modify it by uncommenting the needed lines (we are going to modify the topic icon in CSS which corresponds to No Children in the topic properties).
CSS |
.TocTree_tocNode.TocTreeLight_imgTopic |
Let's go ahead and uncomment:
CSS |
.TocTree_tocNode.TocTreeLight_imgTopic |
Now, we need to type in the path to the actual image we've uploaded and save the changes.
CSS |
.TocTree_tocNode.TocTreeLight_imgTopic |
We have just modified the default topic icons globally for our portal. Note that the branding style file applies only for the reader interface - logged in contributors do not see UI changes applied through that file. Thus, to see the icon change, we need to have a Publication in our portal so we can log out and open the publication (or open it in a different browser).
Once we do this and check the TOC tree as a reader, we will see the modified topic icons:
Learn more on branding and styling in ClickHelp:
- Portal Home Page
- Reader Interface Settings
- Reader Interface Templates
- Page Header and Footer
- Advanced Branding with CSS