4. Reuse Content
This chapter is all about saving time and increasing productivity by using single-sourcing functionality.
Use Snippets
Let's reuse a piece of content in several of our topics. Doing so will let us modify it in a single place, and changes will be reflected in all places we've inserted it. It saves quite a bit of copy-pasting, isn't it?
Let's choose the Importance of accurate course plotting topic for this purpose. First, make sure you have some text in it.

- Now, open the Course planning topic and click Edit.
- Place the cursor at the beginning of the topic.
- Next, switch to the Insert tab of the topic editor's ribbon and click Insert Snippet from the Single-Sourcing section.
- In the popup that appears, type Importance in the text box. Then, when the Importance of accurate course plotting topic appears in the dropdown list, select it for insertion.
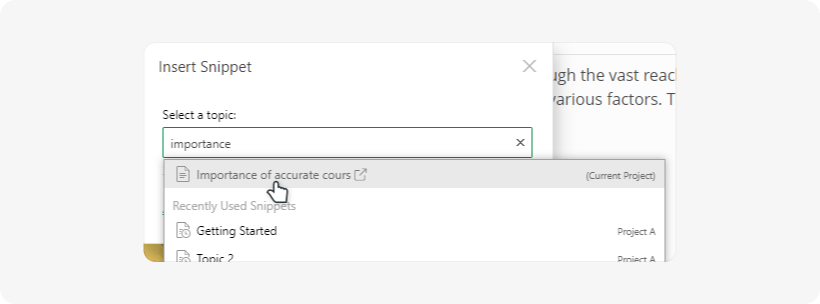
- Click OK.
Great! Now you should see your Importance of accurate course plotting topic inserted as a snippet — it is marked with a dashed grey border:
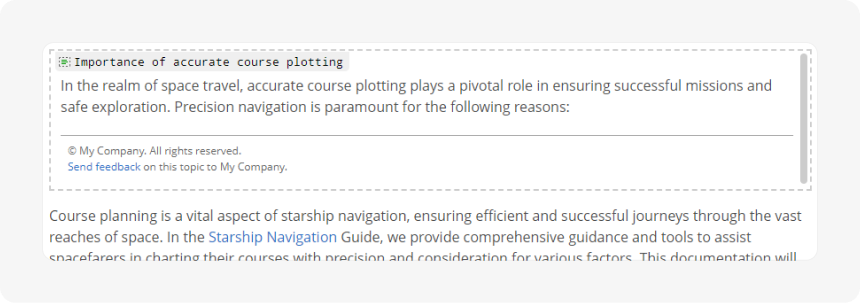
Click Unlock & View to preview what the snippet will look like for the readers:

Now, switch back to the Importance of accurate course plotting topic you just reused, and modify its content by adding a bulleted list of four items:
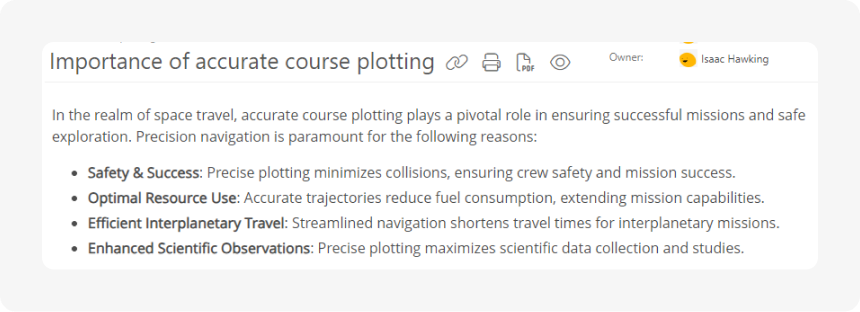
Head back to the Course planning topic, where you inserted this snippet. You'll see that the changes you made are reflected in its content:

Your topic looks marvelous now! Go ahead and insert the same topic as a snippet into several other topics. Then change the original — Importance of accurate course plotting topic — once again and see the changes reflected all over.
Now you know how to conveniently manage content inserted across your documentation from a single place!
You can read more about using snippets in the following topics:
Now, let's look at another single-sourcing technique — Output Tags.
Use Output Tags
Let's create conditional content for different audiences of your user manual. We will use Output Tags — human-readable labels that we'll use for marking up our content — for this purpose.
First of all, you need to create a new output tag. To do so:
- Select Settings from the side nav and navigate to Single-Sourcing → Output Tags.
-
Select the Create Output Tag button.
- Enter ExperiencedReaders as the name for the new output tag
- Select Update.

The initial setup is complete; congrats!
Now, return to your project to apply the new output tag to your content.
- Open the Importance of accurate course plotting topic and click Edit.
-
Place the cursor anywhere in the third list item.

- Open the Insert tab on the ribbon.
- Click Make Conditional in the Single-Sourcing section.
- Select Include as the conditional block type and ExperiencedReaders as the output tag.
-
In the Output Tags box of the Conditional Content section, select the output tag you've just created.
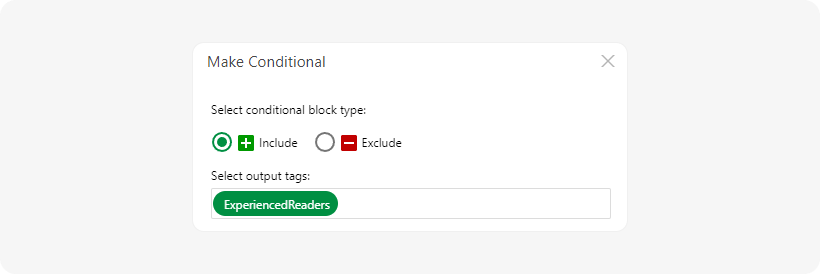
-
Click OK.
You just made the selected element conditional! The conditional content will have a dashed border in the edit mode — green or red, depending on the type of the condition. Since we made the list item including, it will have a green border.

Now, the selected element will be included in the published version of your project only if you specify the corresponding output tag during the publishing process.
Click Unlock & View, and you will see that the list now has only three items.

That's because, as Contributors — by default — we see topics' content with no output tags applied. And since the third list item is included only when the ExperiencedReaders output tag is used, it has been removed from the preview.
However, previewing what our content will look like when a particular output tag is applied is possible. Let's do it:
- Click Edit.
- Open the View tab of the ribbon.
-
In the Output Tag Preview section, click in the Output Tags selection box and select ExperiencedReaders.

- Click Apply and then — Unlock & View.
You will see the topic content as it appears in the published version with the selected output tag: the list should now have four items. The system will show the output tag selected for the preview in the top right corner of the topic's content as a label with white text on a black background — of course, only in the authoring interface.
| You can select as many output tags as you want. |

You can read more about using output tags in the following topics:
Now that we are finished with the content creation, it's time to move to the next step and master the workflow basics.