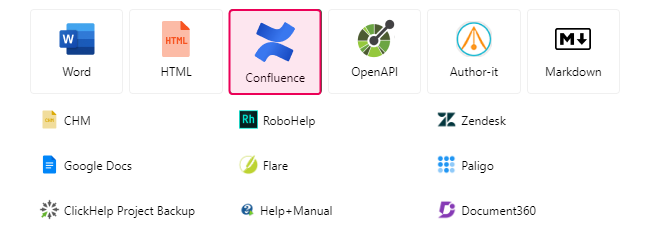
Confluence Import Wizard Reference
This topic describes the settings you go through when choosing Confluence as the source format on the first page of the Import Wizard.

Step 2. Confluence Login
This wizard page is dedicated to your Confluence credentials. You can find the following settings there:
|
Option
|
Description |
|---|---|
|
Confluence edition
|
Allows you to select the Confluence edition you are using. Three options are available: Confluence Server, Confluence Cloud, or Confluence Data Center. |
|
Confluence portal URL
|
Allows you to specify your Confluence instance URL. If you're unsure about the portal URL, insert any link to your Confluence instance — like a link to a page or a Space. ClickHelp will try to recognize the portal URL automatically.
|
|
Confluence login
|
In this box, you must enter the login you are using to authenticate in your Confluence portal.
|
|
Confluence password / Confluence API token
|
In this box, you must enter either the password you use to authenticate in your Confluence portal or an API token. The name of the box changes depending on the confluence edition you choose in the corresponding field. |
Step 3. Confluence Settings
Page 3 allows you to choose the Confluence Space to import from. The following settings are available here:
| Option | Description |
|---|---|
| Space name |
The list of Confluence Spaces allows you to pick one to import into ClickHelp. |
| Unsupported macros processing |
Defines whether ClickHelp should remove unsupported Confluence macros or insert placeholders for such macros. Check out Importing Confluence Macros to verify whether the Confluence macros you use are supported. |
| Scroll Versions | Allows you to pick a Space version if you are using the Scroll Versions plugin in the chosen Confluence Space. Becomes available when Scroll Versions installation is detected in your Confluence instance. When you select a Space that doesn't have any versions, the list becomes disabled. See Confluence Import Specifics to learn more. |
Step 4. Task Progress
Once you proceed to step 4, no actions from you will be required as it simply shows you the status of the migration process and warns you if anything goes wrong.
Step 5. Finish
That's the final page of the wizard.
After the successful import, there are links to the style files associated with the project so you can edit them right away if needed. You can check out Topic Content Styling to learn more.
There is also the Open project button so you can navigate directly to the project. Alternatively, you can click Finish to close the wizard and land on the Projects page.