Insert Tabs
You can use Tabs in documentation to divide content into meaningful subsections and shorten a topic's length. One of the most widely used examples of using tabs is providing a code snippet in different programming languages in a handy manner.
- Insert Tabbed Content
- Nested Tabs
- Tabs Styling
- Conditional Tabs
- Code Samples in Multiple Programming Languages
- Tabs in Printed Formats
Insert Tabbed Content
Here's how you can create tabs:
- Open the Insert tab of the ribbon and look for the Boxes group
- There, click the Tabs button. Configuration popup will open:
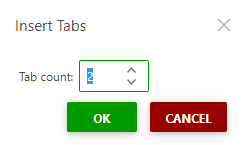
- Specify the number of tabs you want to insert (the number is limited to 100) and hit OK.
After you've inserted the tabs, they will look like a table in the editing mode:
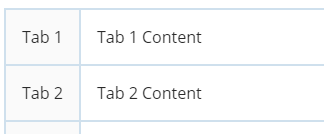
In the first column, you can specify the caption for each tab, and in the second column — the content of the corresponding tab.
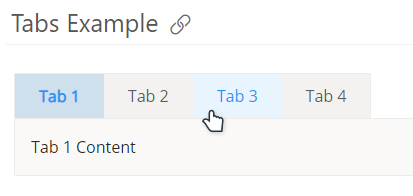
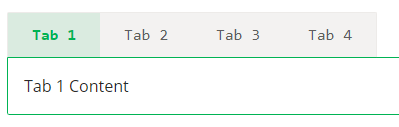
Once you unlock the topic, the tabs will be displayed as actual tabbed element — the same way they will be displayed for the readers:
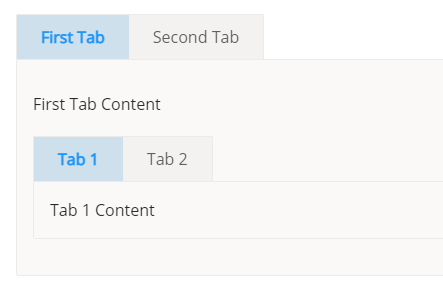
Nested Tabs
Since tabs are represented by a table in the editing mode, you can put pretty much any content into the Tab Caption cell and into the Tab Content cell. This allows you to create nested tabs as well. The depth level of the nested tabs is not limited, but we suggest avoiding extreme levels of depth.
Tabs Styling
Tabs can be styled with the CSS just like any other content. By default, there are several tab styles that exist in your Style.css file.
Click here to view the default Tabs CSS
CSS |
/* Tabs */ |
You can customize these to make the tabs look according to your needs: change the colors, typography, size, etc.:
Conditional Tabs
You can also make the tabs conditional so that some tabs are displayed (or not) with certain Output Tags.
To do this:
- Place your cursor inside the title or the content cell of the tab you want to make conditional.
- In the tag inspector below the ribbon, select the tr tag (this is the row corresponding to the tab)
- On the ribbon, in the Conditional Content group of the Single-Sourcing tab, specify the output tag and click either the Make Including or Make Excluding button.
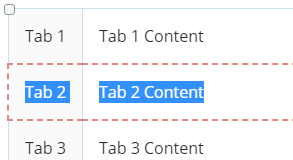
You will see the dashed border which indicates the corresponding tab is now conditional:
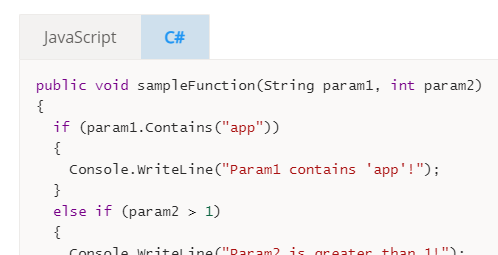
Code Samples in Multiple Programming Languages
To show the same code sample in multiple programming languages, you can utilize tabs to achieve that.
- Insert the Tabs element with the desired number of tabs.
- Change the tab captions to represent the languages.
- Insert a Code Sample into the tab's content cell, choosing Code only layout.
Tabs in Printed Formats
Since the Tabs are based on JavaScript which does not work in printed formats, they appear as tables in the printed versions of your documentation to preserve the content in a readable form.