Project Styles and Scripts
When you create a Project from a template, a couple of CSS files and a Script file are automatically created for the Project - those files come from the template, and contain the template-specific style definitions. These files are stored in the ClickHelp File Storage. You can view the CSS files on the Styles tab of the File Storage, while the script files are located on the Scripts tab. Further in this help topic, you will learn how to work with these files in the ClickHelp File Storage, and how to share styles and scripts among different projects.
|
|
Note |
| The explanation below uses the Styles tab as an example. All steps are identical for the Scripts tab. | |
To view a CSS file:
-
Open the
File Manager
and proceed to the
Styles
tab.
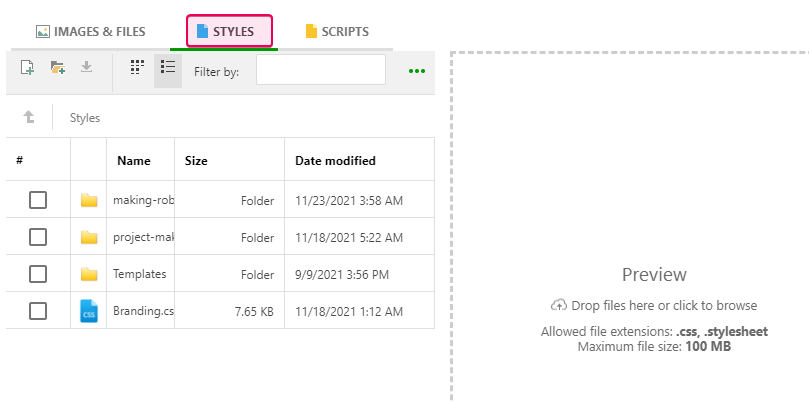
-
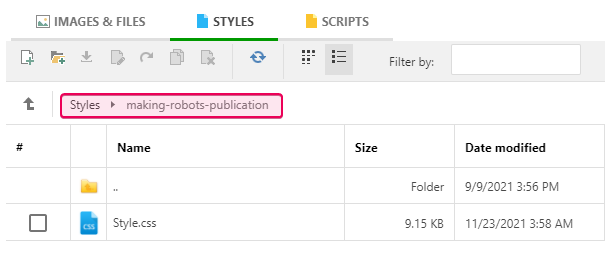
Click your
Project or Publication folder to browse into it and see the style files.
To add a new file, upload it from your PC by clicking the Browse... button or drag and drop it to the upload area on the right.
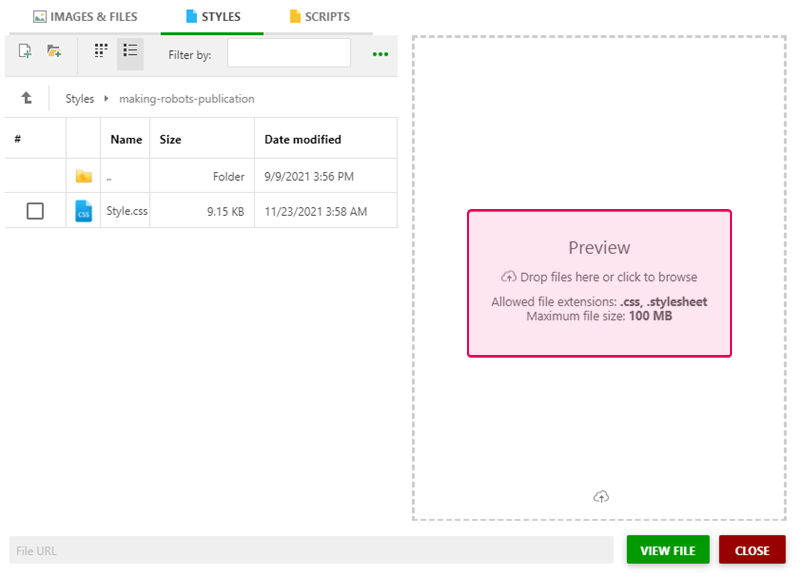
This is where you can also open a CSS file for editing. Simply double-click the needed file, and it will be opened in the ClickHelp CSS Editor in a new window. Alternatively, you can select your file and click the View File button (it will become active after you select the file) in the bottom-right corner.
The styles are conditional. This means that you can use different style files for different outputs depending on Output Tags.
Sharing Styles Between Projects
In ClickHelp, it is possible to share style files among Projects. For example, you can create a single folder in the File Manager to store all your CSS files and use those files everywhere to control the styles in a centralized manner.
To assign an existing CSS file to a Project:
-
Go to
Current Project → Settings → General → Basic Settings
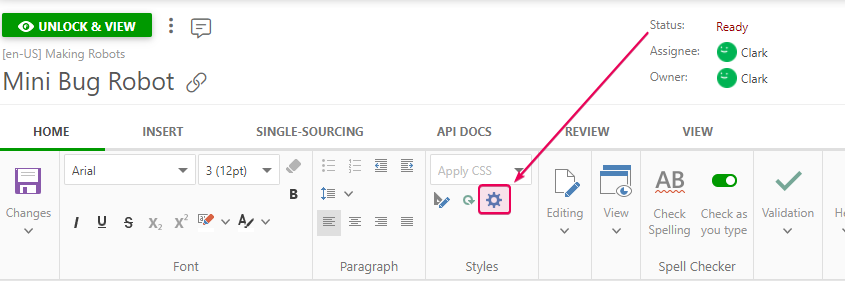
or click the
Manage Project Style File
element on the
Home
tab of the editor as shown on the screenshot below.
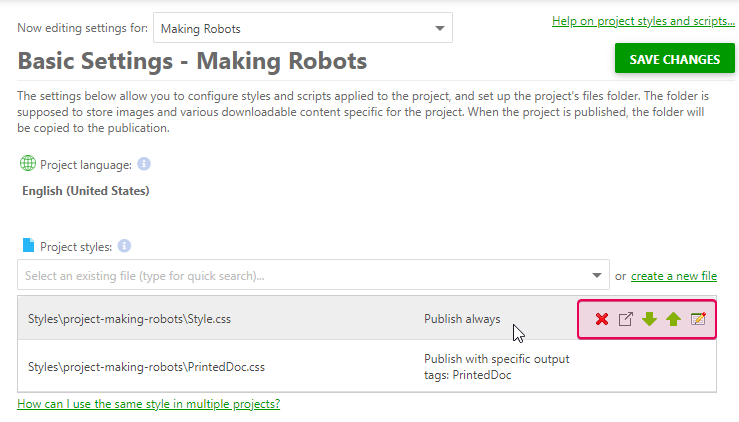
-
On the
Basic Settings
page, you can view all the
CSS
files
applied to the current
Project
and edit them invoking the editing elements by hovering your mouse over a
CSS
file. You can
Delete
it,
Open for editing,
move
it
up
or
down
and open its
Publishing Properties
.
-
On the same settings page, you can add any existing
CSS file stored in your
ClickHelp File Storage
to the current
Project
by picking it in the dropdown box - just select an existing file in the list or start typing the file name for quick search. You can also click the
create a new file
link and a new empty CSS
file will be added to the list below.

Note The lower the file is on the list, the higher its priority. 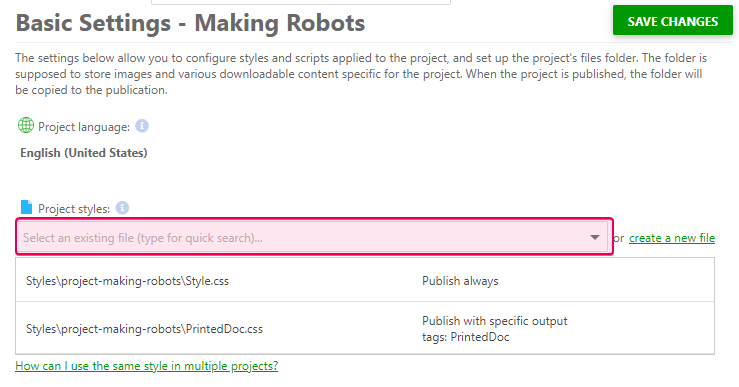
- Save the changes when you are done.
If several projects need to have the same style, create a common style file and add it to those project settings one by one. For example, note how we have two style files on the screenshots above: one for the regular output and the other one - for the printed version of the same documentation.
Learn more on project management