Translation Process Overview
This topic will guide you through the translation workflow in ClickHelp via a tutorial. We will cover all the steps required to deliver the translated documentation to your readers.
|
This tutorial assumes you have some prior knowledge of working with ClickHelp, specifically in creating projects and editing content. If you're unfamiliar with these features, we recommend going through our Quick Start Guide tutorial series first. For a more in-depth experience, you can also refer to other sections of the manual, such as Authoring. |
Create a Project and Set the Base Language
The first thing you should do when starting with translations in ClickHelp is to ensure that the base language for your projects is correctly specified. Picking the correct language is important for Natural Language Processing features to function properly. If you haven’t set up any projects yet, go ahead and create one.
| Note | |
| When you create the first project in a certain language, a copy of the Home page, global variables, and global settings are created for this language. | |
Create a Translation Project
Once you’ve finished authoring content in the base project and are ready to start translating it, you will need to create a translation project. Translation projects can not exist on their own, so a base project must always be created first.
-
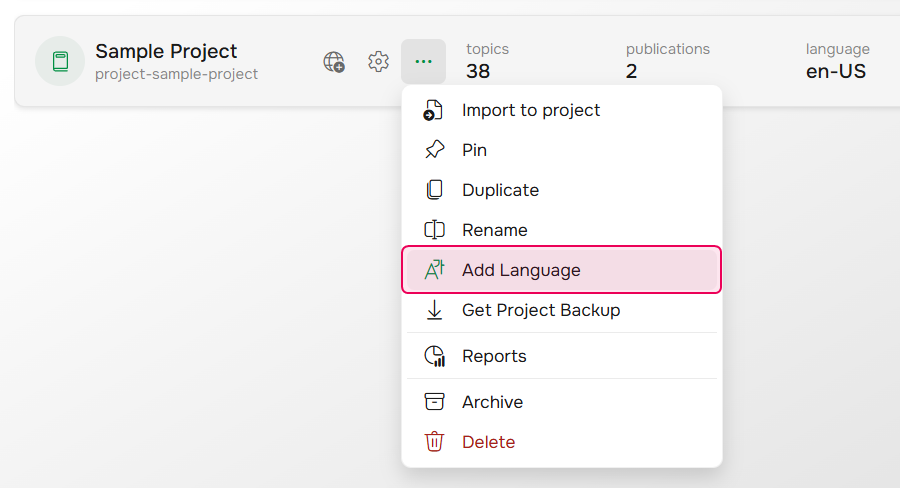
On the Projects page, click More (three horizontal dots) next to the project of your choice, then select Add Language.
-
The Create Translation Project Wizard will open.
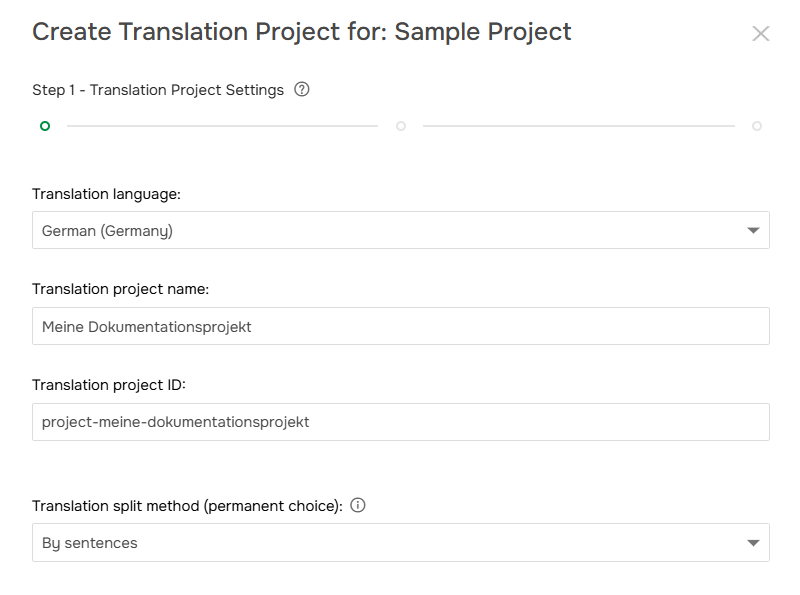
You will need to specify the following:- Translation language — we’ve chosen German for this tutorial.
- Translation project name — you can keep the autogenerated one; we have specified Meine Dokumentationsprojekt.
- Translation project ID — you can leave the autogenerated one as well.
-
Translation Split Method — choose your preferred method for dividing the base language content for translation:
-
By sentences — each translation unit will correspond to a single sentence in the source text, ensuring exact matching between the source and translated text. This approach supports precise progress tracking.
-
By paragraphs — each translation unit will be an entire paragraph, giving translators greater flexibility to restructure the text. They can split a single sentence into several translated sentences or combine multiple sentences into one.
Note that this setting is specific to each translation project and affects all its topics. It cannot be changed later.
-
By sentences — each translation unit will correspond to a single sentence in the source text, ensuring exact matching between the source and translated text. This approach supports precise progress tracking.
- After you've finished configuring your translation project, click Next to proceed.
- Once the system completes the translation creation, click Finish.
| Important | |
|
There can be only one translation project in a specific language associated with the base project. For example, you can create German and French versions of your project, but you can't create two German translations unless they have different locales, such as German (Germany) and German (Switzerland). |
|
You will see that the project on the dashboard now has a new line indicating the translation project and the language you added:

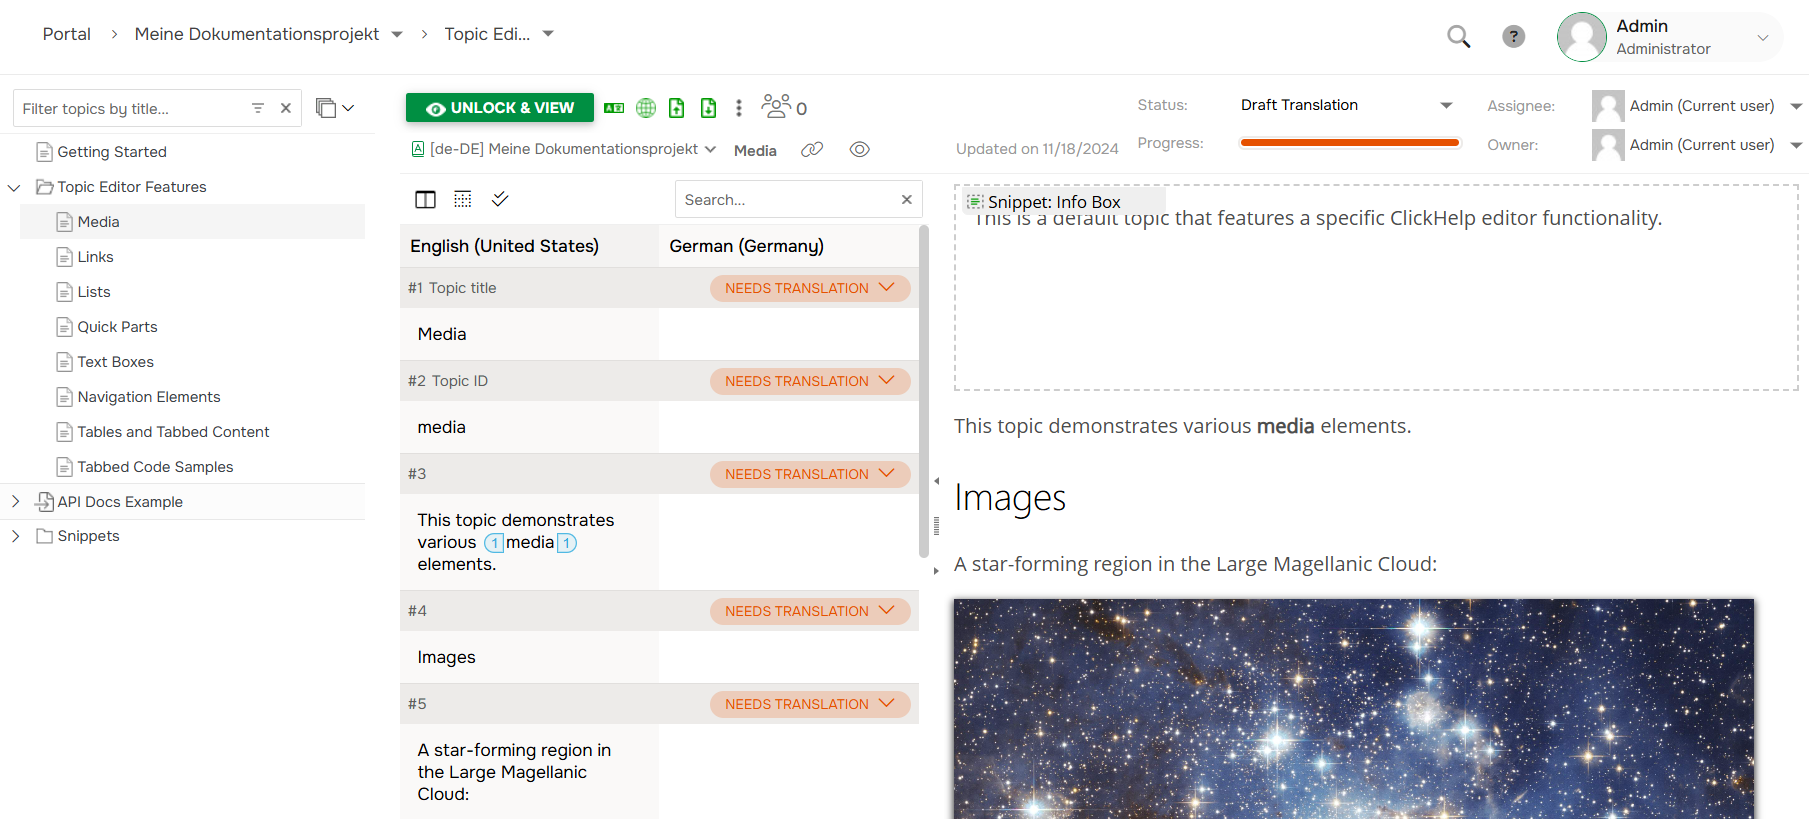
Translate Content
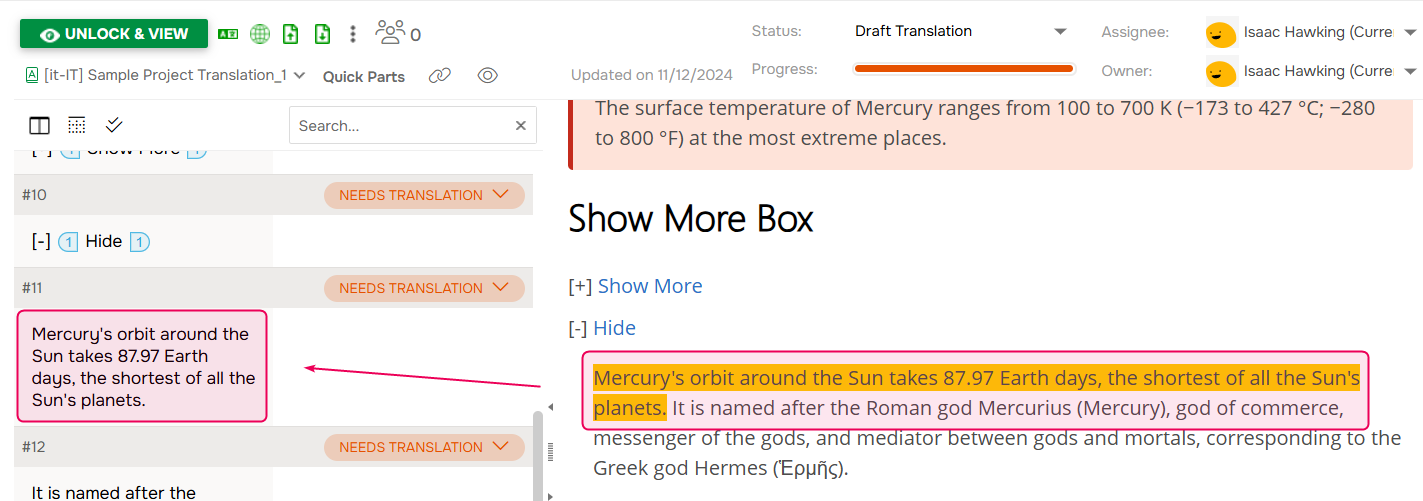
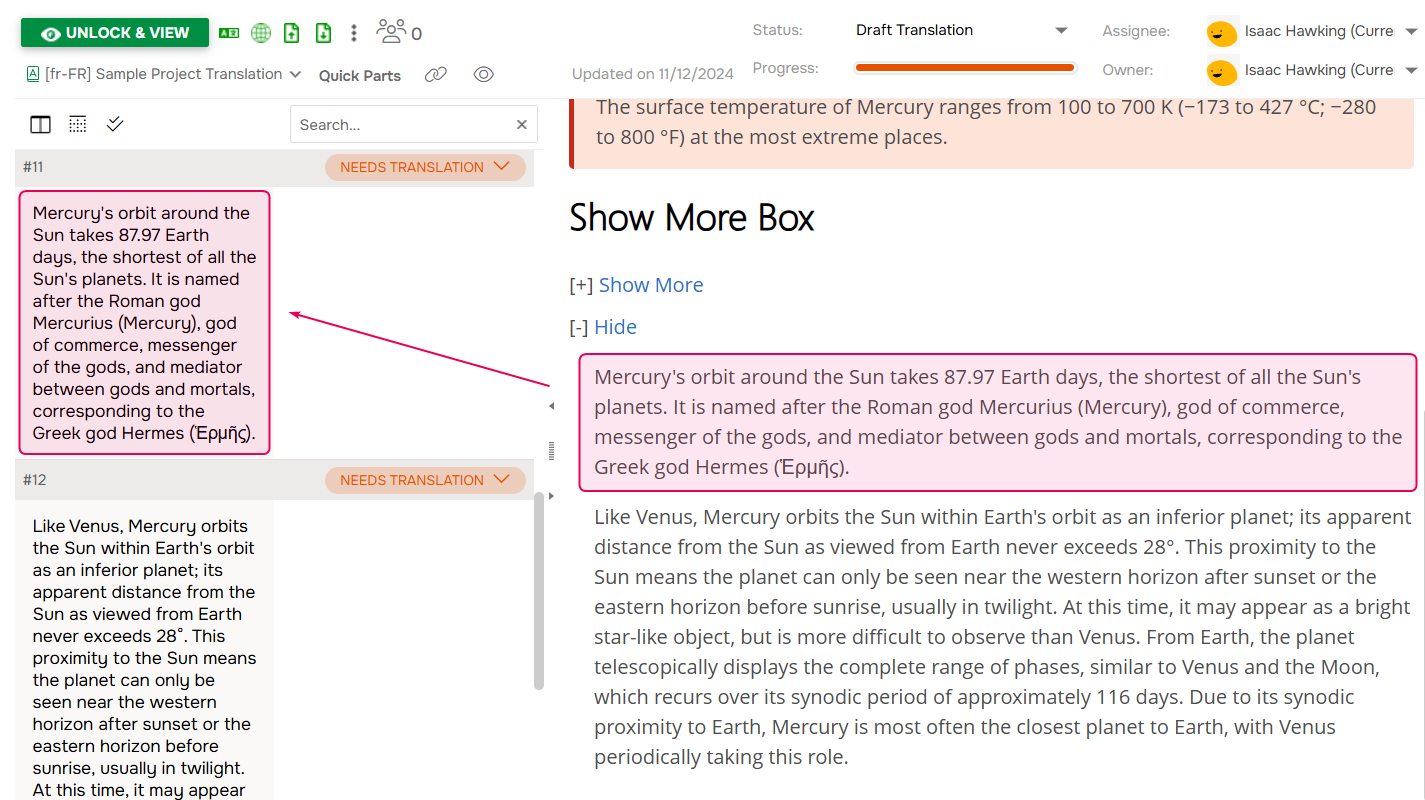
Let's open the translation project by clicking on it. You will see the familiar author interface that you used for content creation in your base project. However, when you click the Edit button, instead of the Topic Editor, the Translation Editor will open:
Let's go ahead and translate a few units by clicking in the space to the right of the original text:

| Tip | |
| You can quickly switch to the next translation unit by pressing Ctrl + Alt + Down Arrow. | |
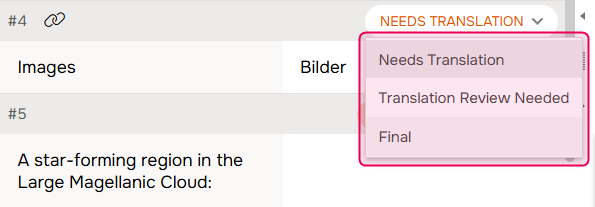
Don’t forget to set the appropriate translation unit state for each unit once you're done translating.
All that's left is to publish our documentation!
Create a Translation PublicationEach translation publication must be associated with a base publication. So, before you can publish your translation project, you need to create a publication for the base project. Once you’ve created an online publication for the base language, you can proceed to publish its translation. Simply click on the Publish icon on the Projects page:

You will need to specify Output type, Publishing mode, Publication name, Publication visibility, Output tags, and whether to publish only Ready topics. For this example, we'll create a public online publication named Meine Dokumentation - Deutsch.
| Tip | |
| Your translation publication can have not only different text and images but also a different TOC structure or the option to include/exclude certain topics or content. You can use Conditional Content for this. | |
Once the wizard finishes the publishing process, you'll see a link to your translated publication, which you can now access.
Congratulations! You’re now ready to fully utilize the translation and localization functionality. If you want to translate not only the content, but also other parts of the documentation, such as the home page and index keywords, refer to the following topics:
To learn more about creating multi-language documentation in ClickHelp, be sure to check out our other related topics: